
Looking to get the most out of your Worlde Panda Mini MIDI controller in FL Studio? In this guide, we’ll walk you through every step—from unboxing to mapping—so you can focus on making music, not fussing with drivers.
Introduction
MIDI controllers can transform your workflow in FL Studio, but only if they’re set up correctly. In “WORLDE Panda Mini MIDI Full Guide,” i’ll take you from zero to hero in under 36 minutes. Whether you’ve just unboxed your Panda Mini or you’ve been wrestling with connectivity issues, this article will summarize the key steps and point you back to the video for in-depth visuals.
Watch the full video: https://youtu.be/0j81Fxhi590
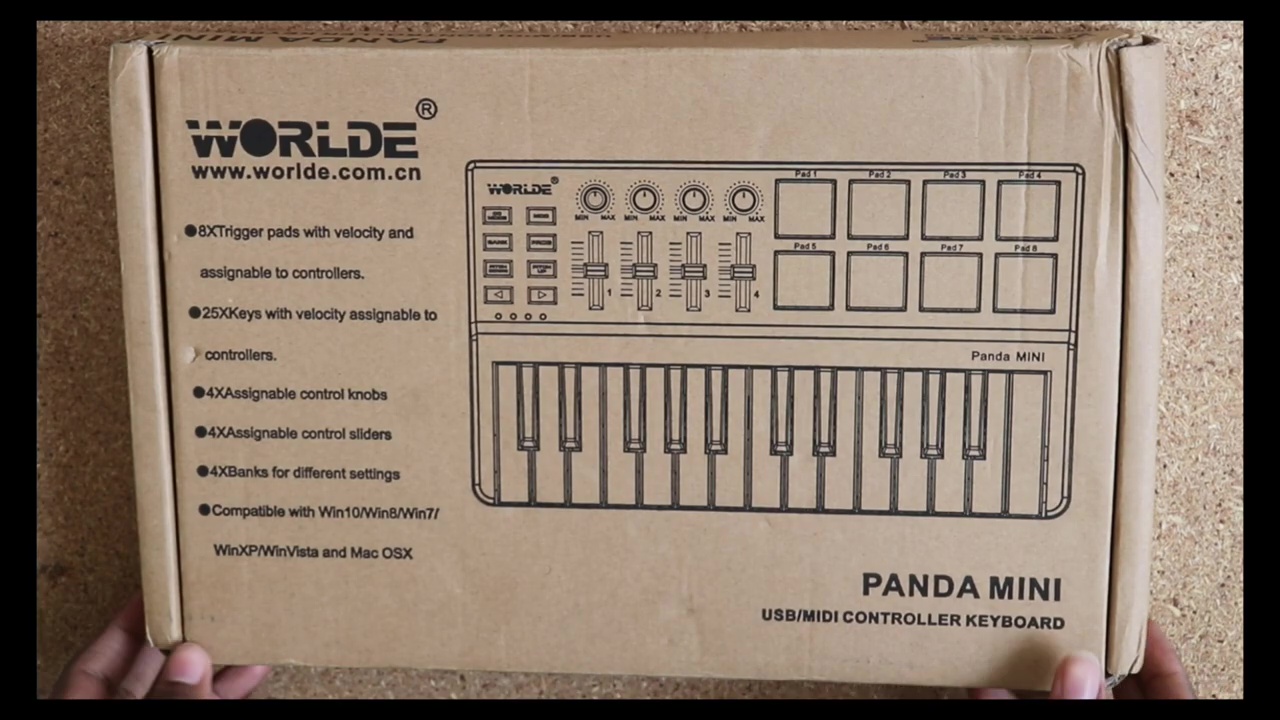
1. Unboxing (00:10)
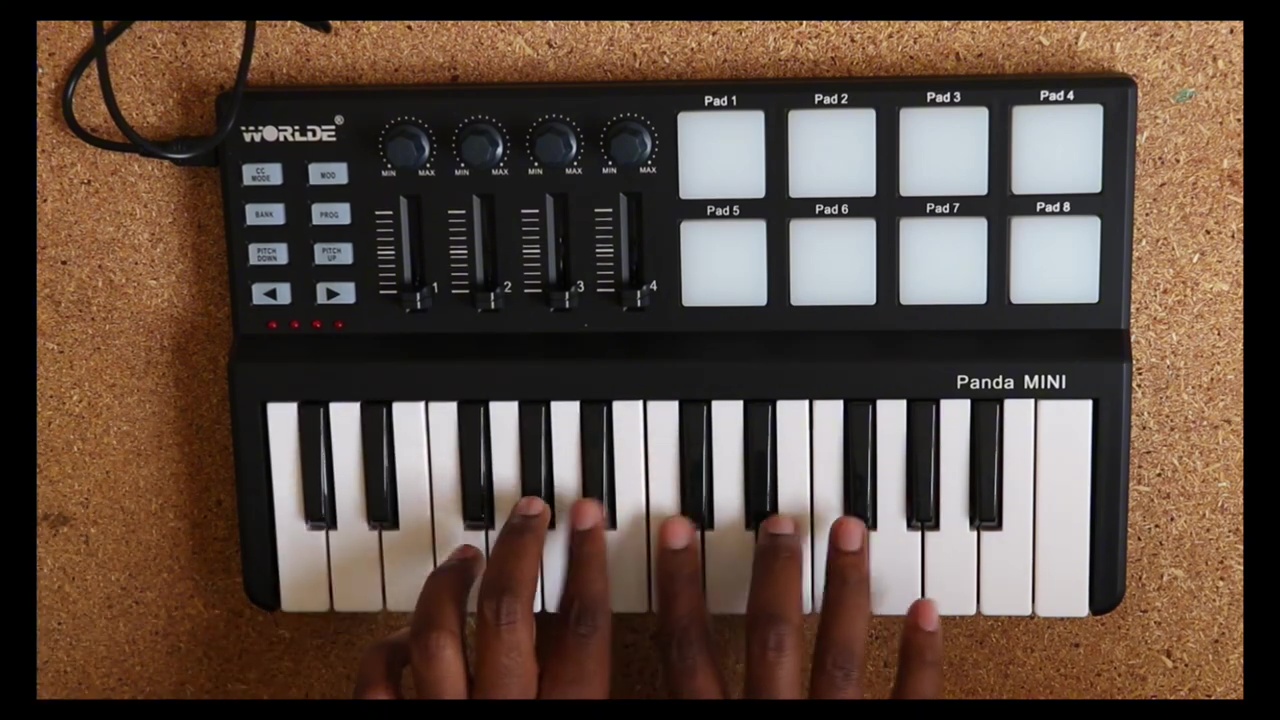
Your Panda Mini arrives neatly packaged with a USB-C cable and quick-start leaflet. Take a moment to inspect the build—worlde’s compact pad grid feels solid, and the knobs have a satisfyingly smooth resistance.
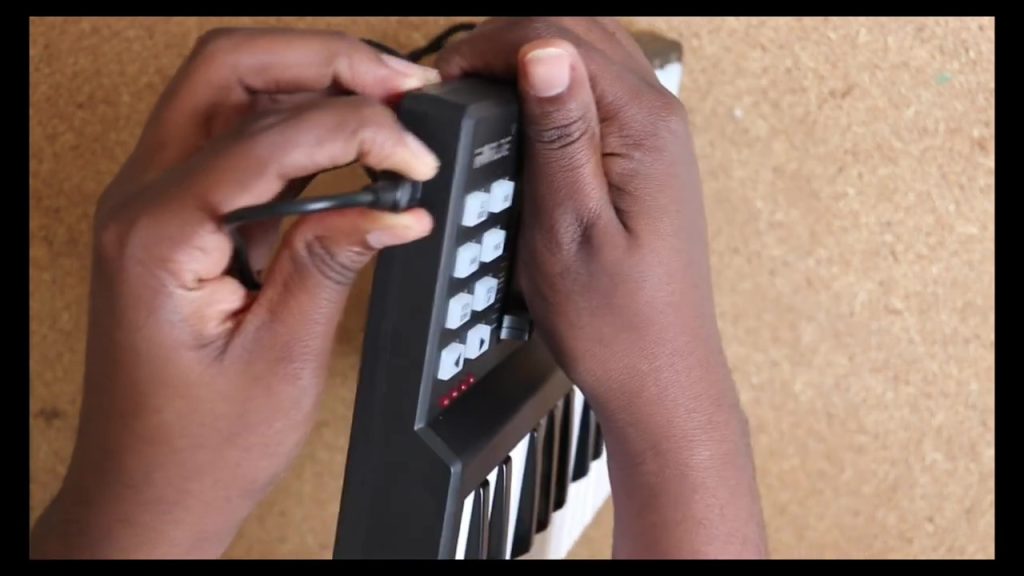
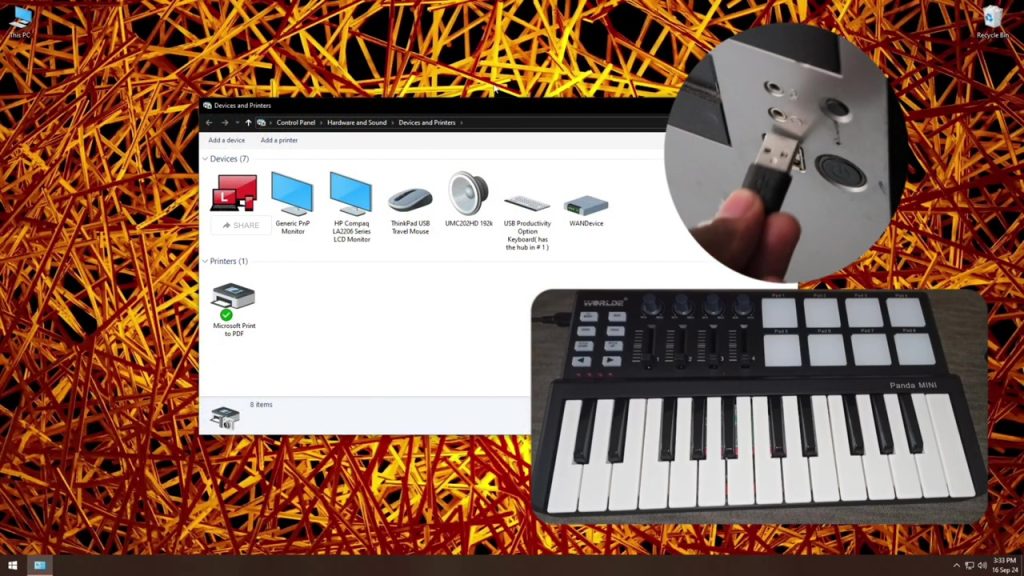
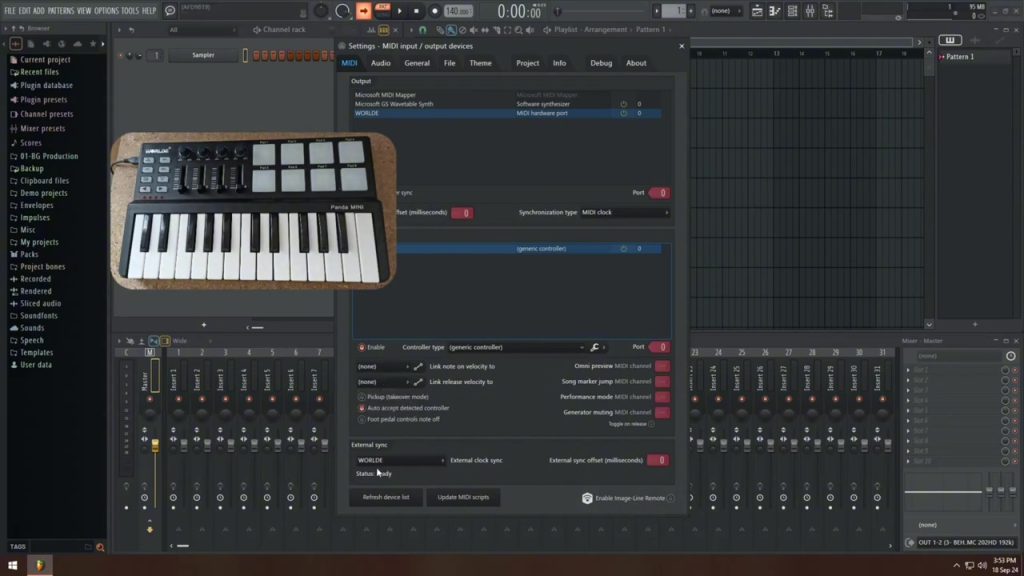
2. Connecting to Your Computer (03:57)
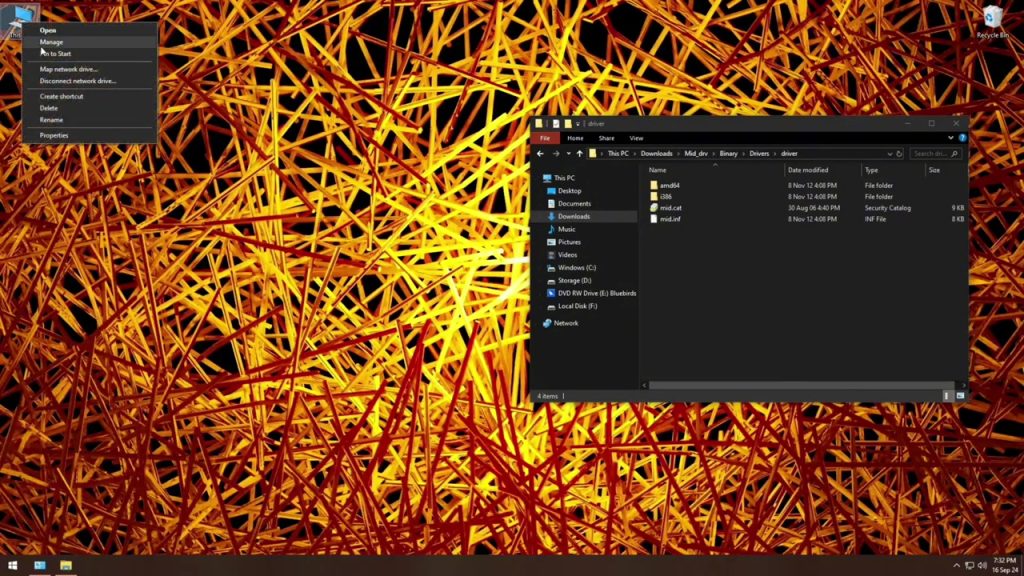
Plug the USB-C cable into the Panda Mini and your PC/Mac. Windows should detect the device as a generic MIDI input—but to unlock full functionality, you’ll need the official driver.
3. Downloading the Manual (04:34)
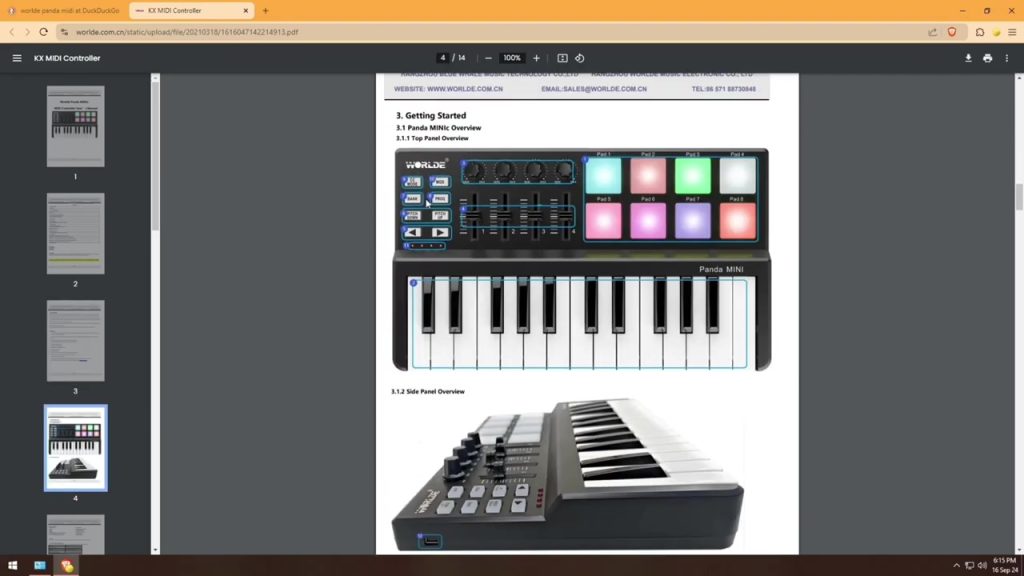
Before installing anything, grab the PDF manual to familiarize yourself with default pad assignments, knob functions, and scene controls.
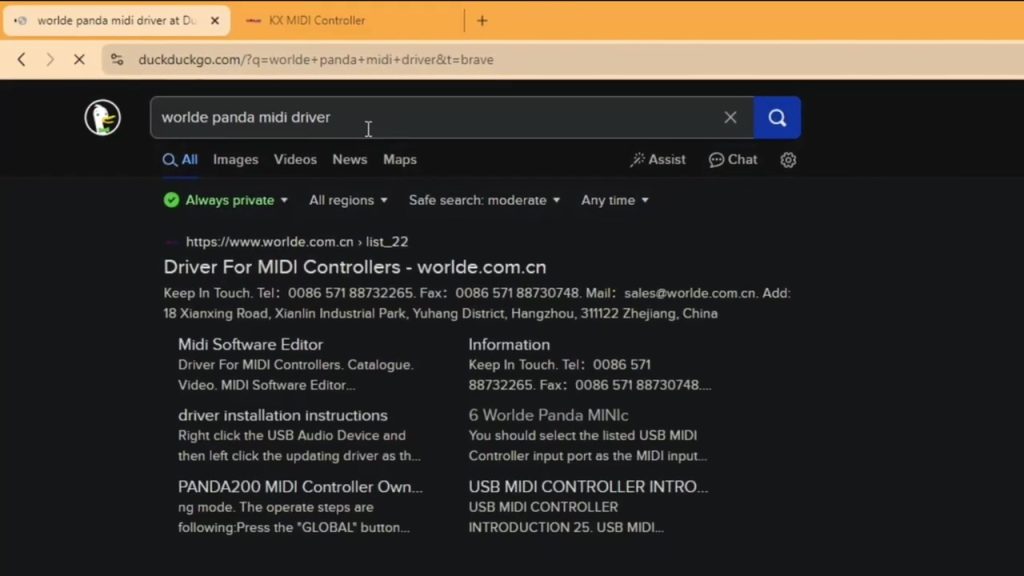
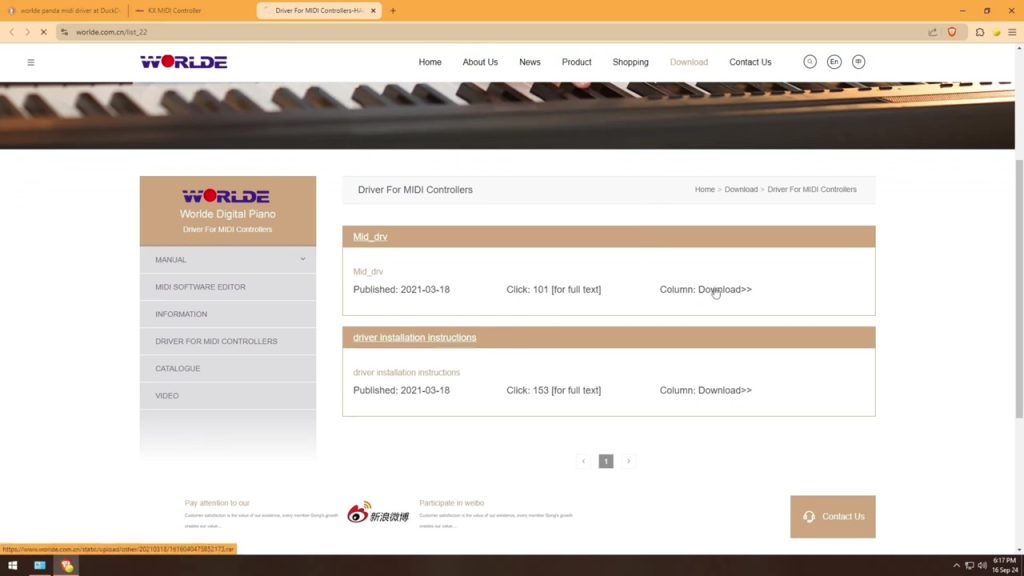
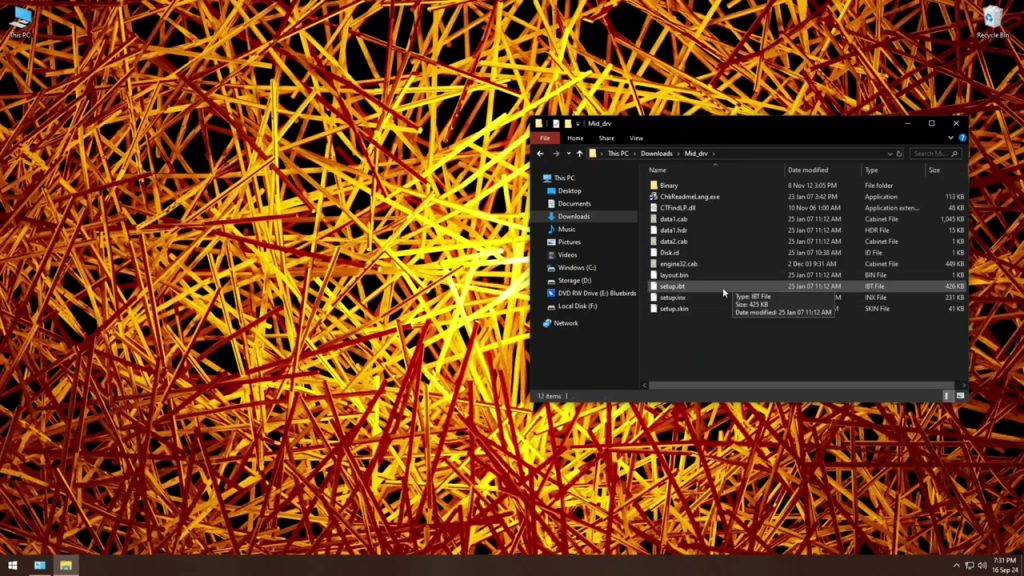
4. Driver and Instructions Download (04:53)
Head to Worlde’s support page to fetch the Windows driver package and detailed setup instructions.
- Driver & Instructions: https://www.worlde.com.cn/list_22
(This ensures Windows recognizes all 16 pads, 8 knobs, and integrated mapping modes.)
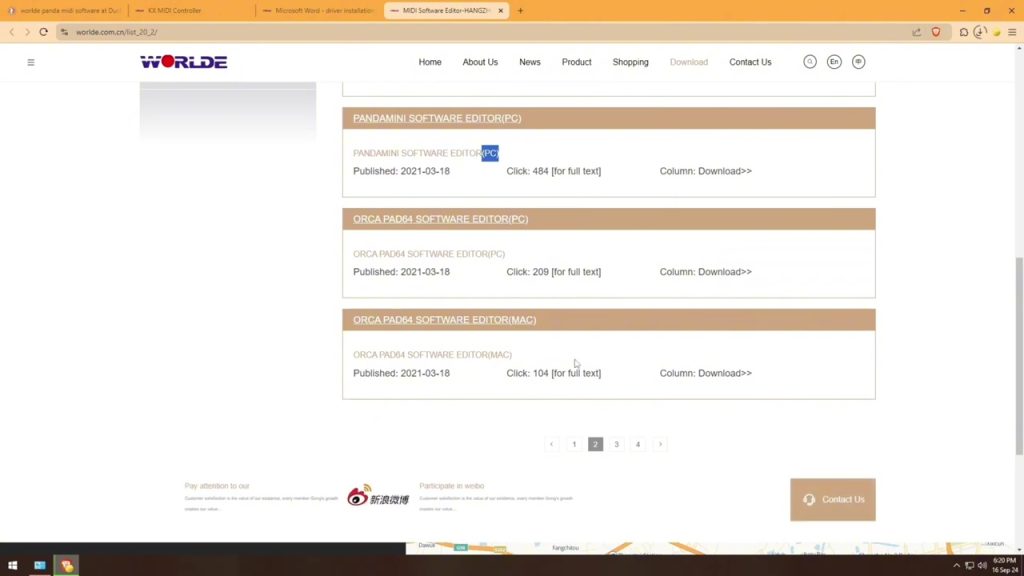
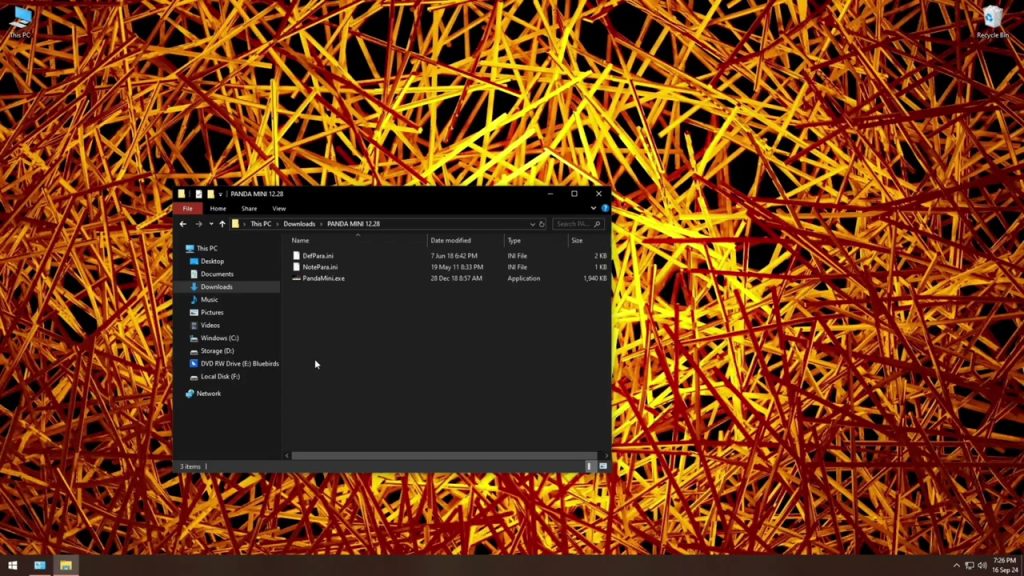
5. Software Download (05:40)
Worlde provides a configuration utility for customizing scenes and pad mappings. Download it here:
- Software: https://www.worlde.com.cn/list_20_2
- Alt Link: https://file.io/g9jY2KmvOr9s
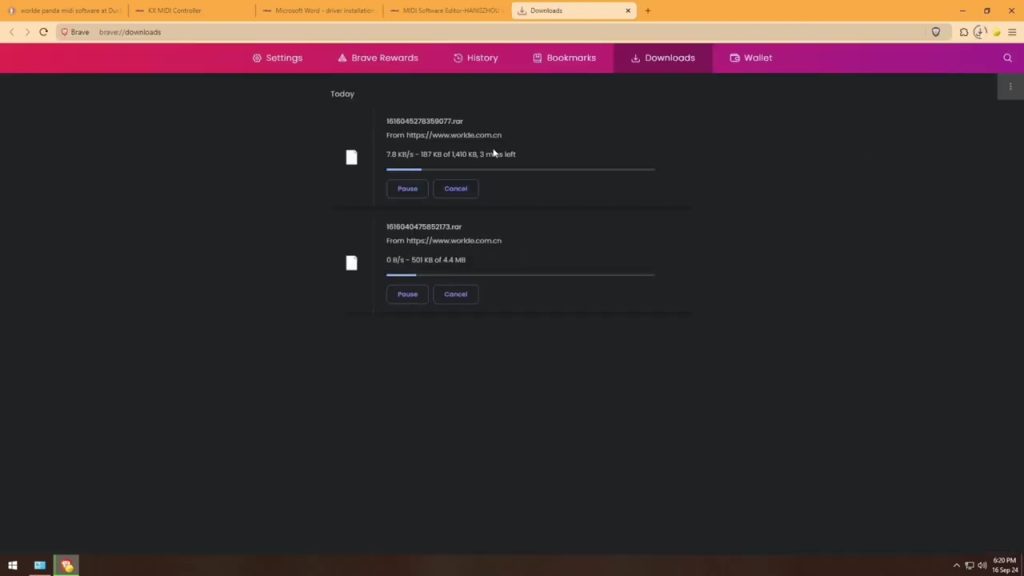
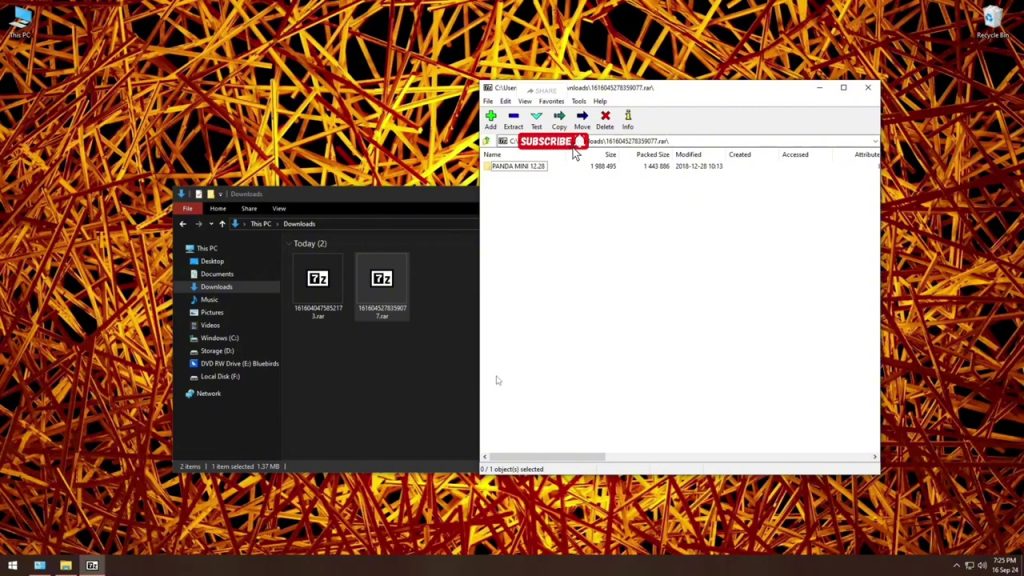
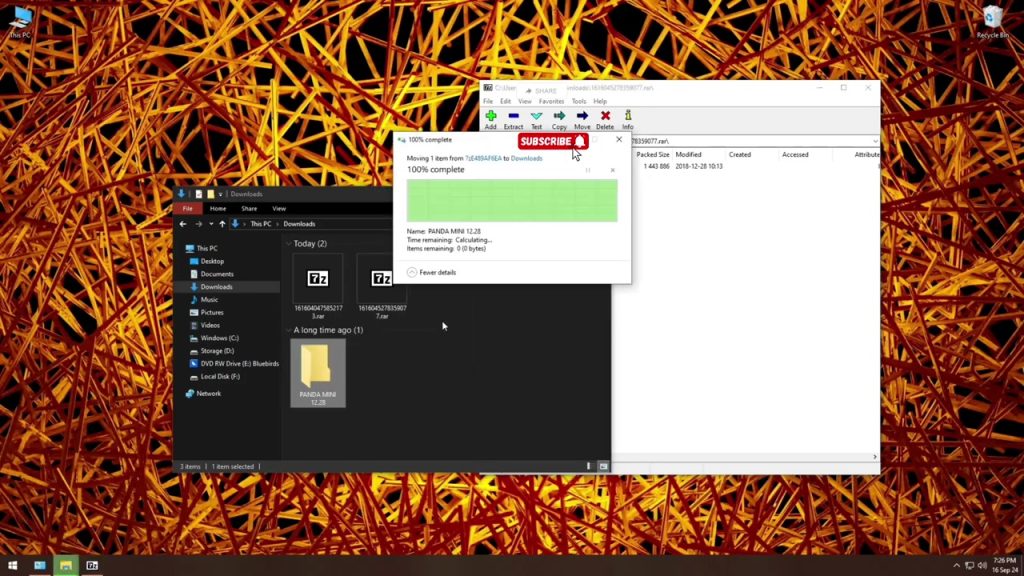
6. Installing the Software (07:10)
Unzip the application. Launch the Worlde utility—this is where you’ll create, save, and switch between custom mapping scenes.
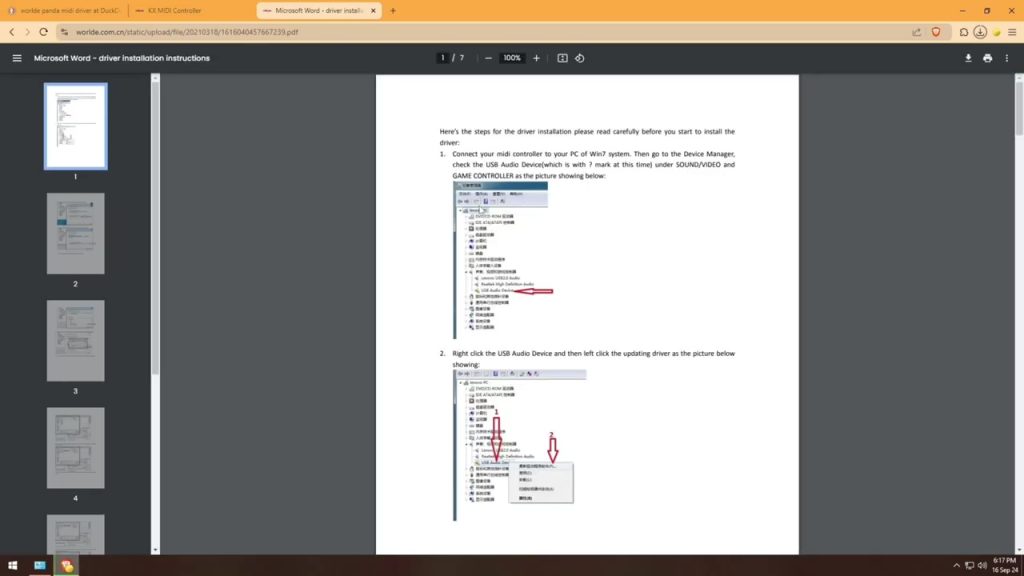
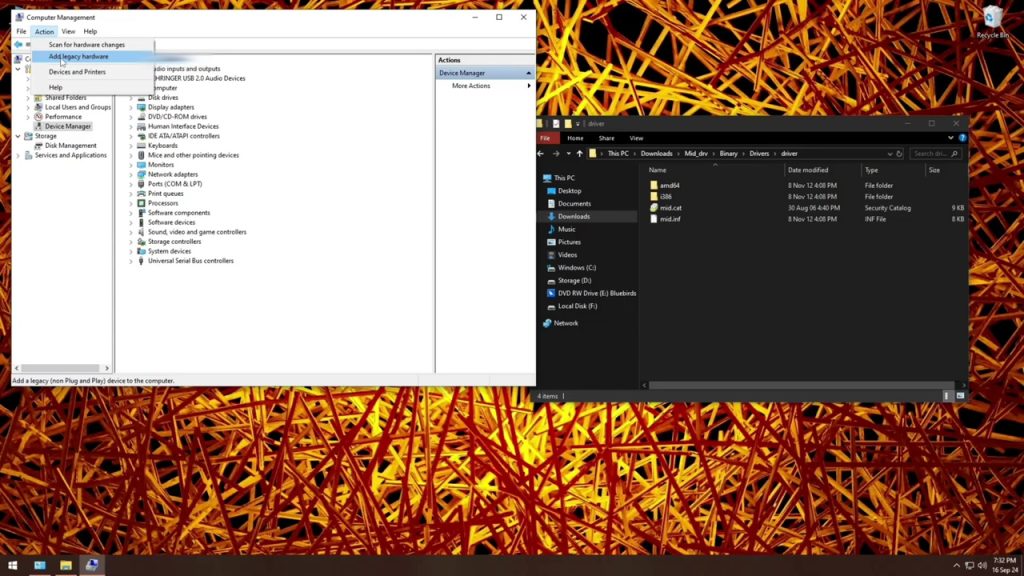
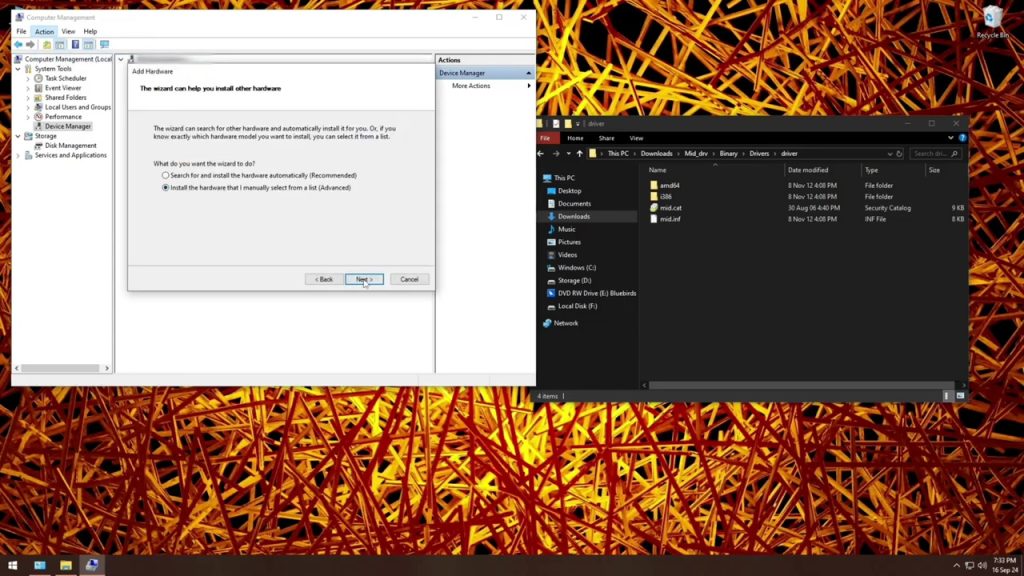
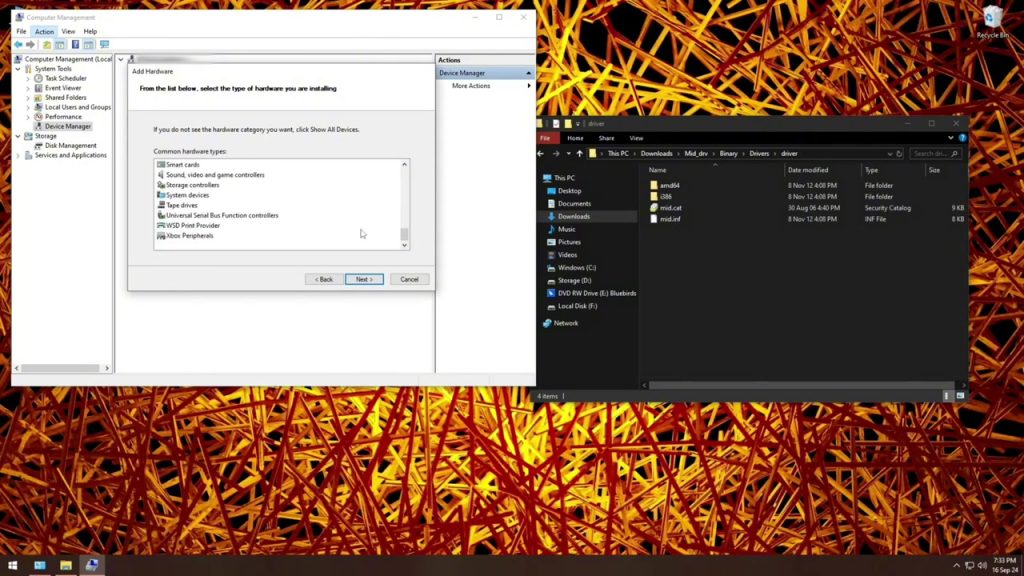
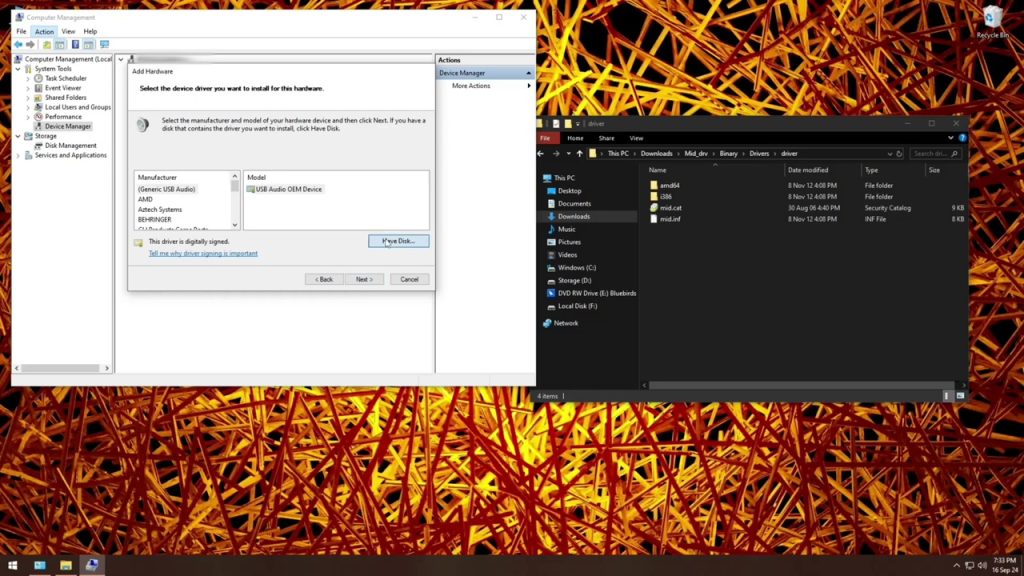
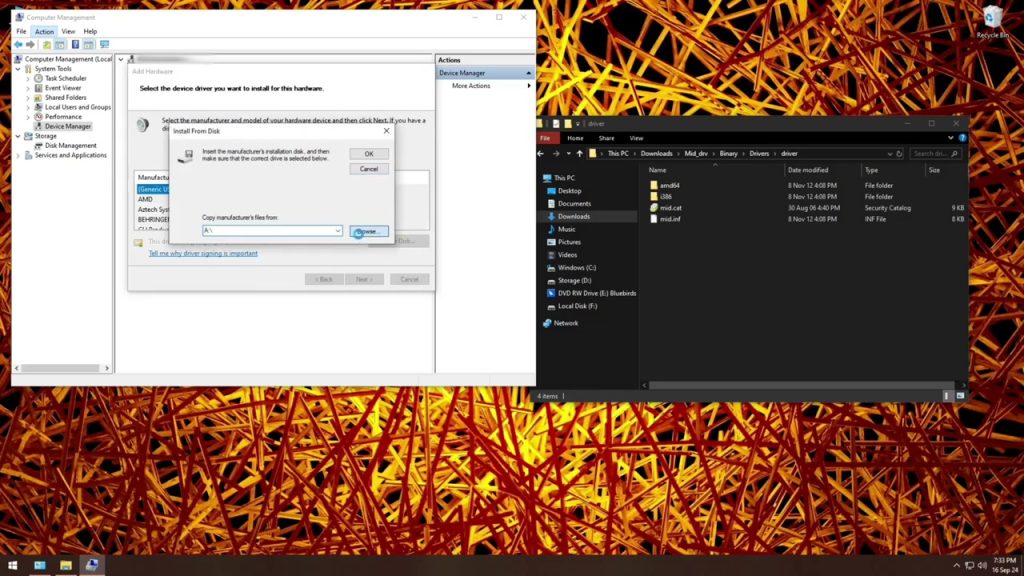
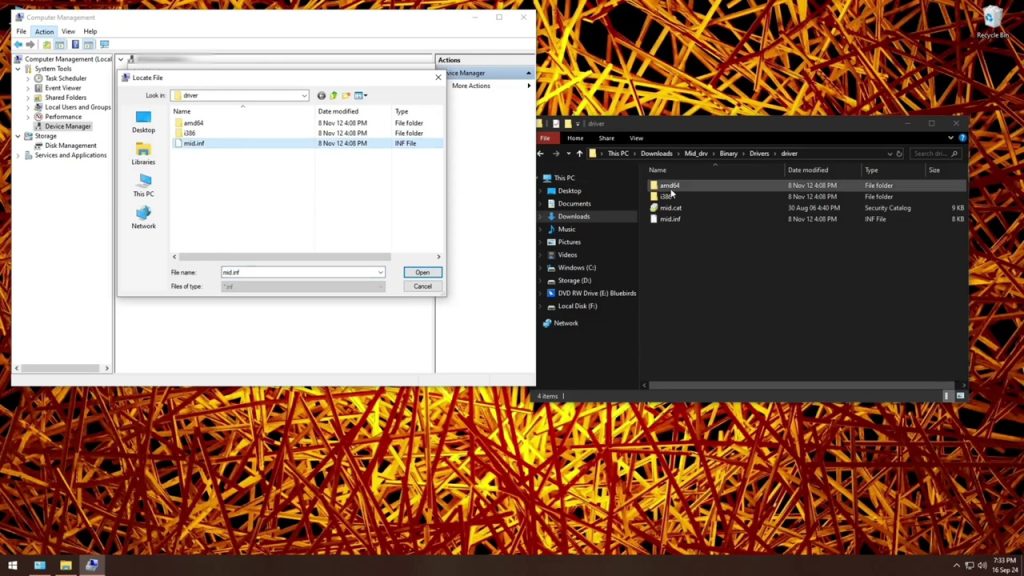
7. Installing the Driver (09:15)
Next, install the driver .exe from the package downloaded earlier. After installation, reconnect your Panda Mini. In Device Manager, you should now see “Worlde Panda Mini” under MIDI devices.


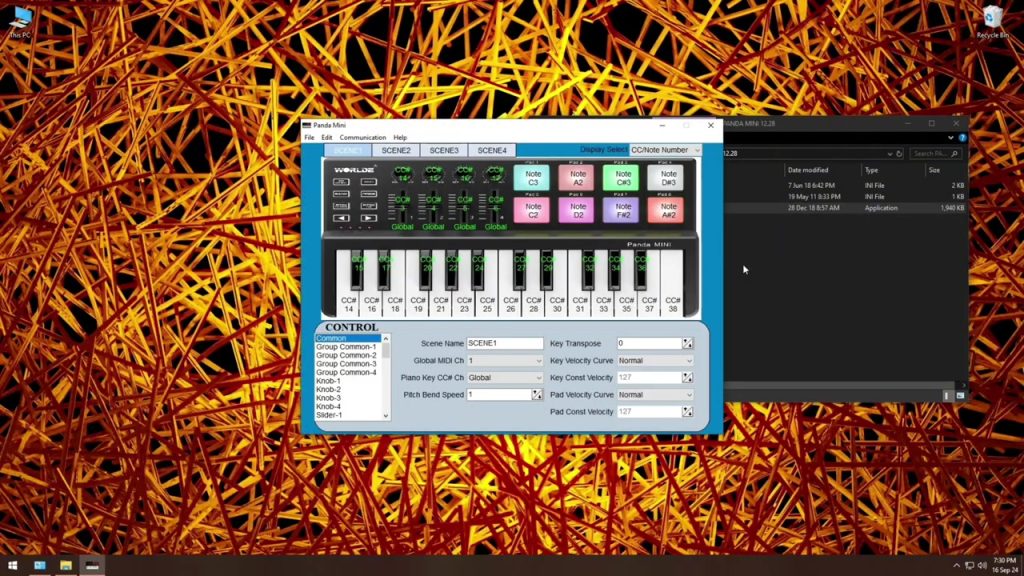
8. Exploring Panda Mini Mapping (11:11)
Open the Worlde configuration utility:
- Choose a Scene slot (1–4).
- Click “Learn” on any pad or knob, then interact with your DAW’s control.
- Save the scene to onboard memory.
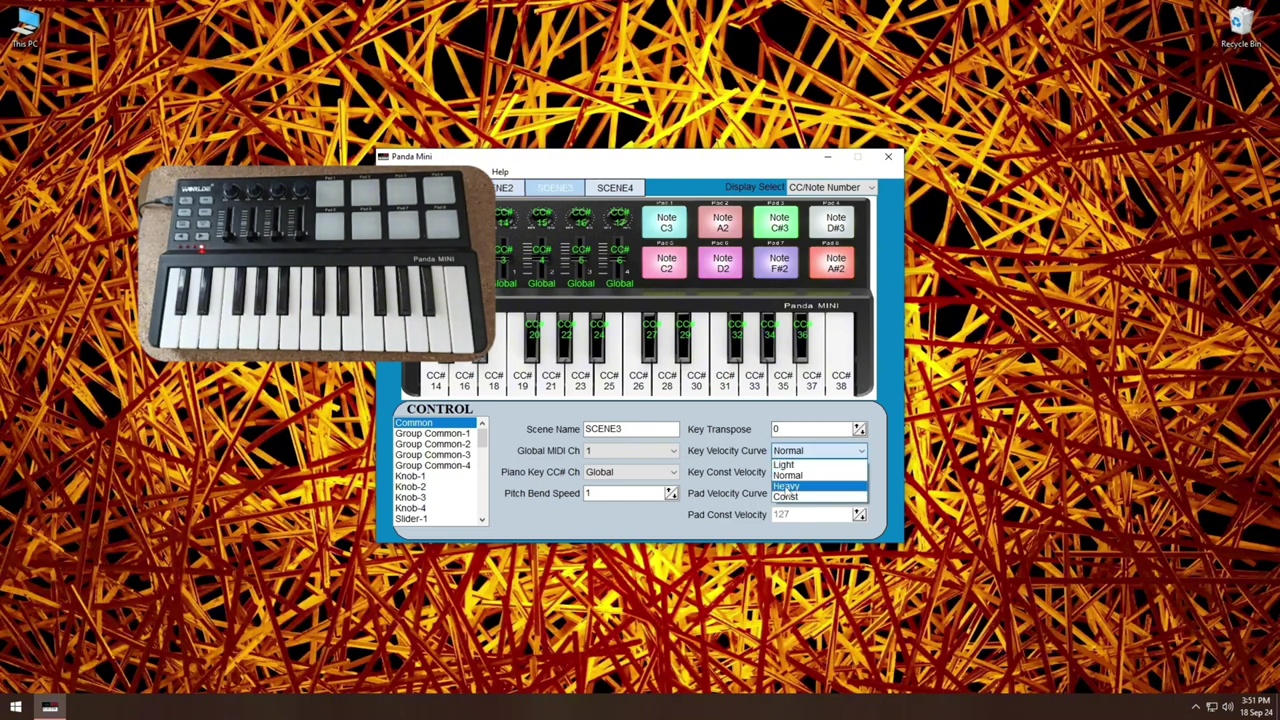
You can store four completely different control layouts—ideal for switching between drum triggering, synth tweaking, mixer faders, and more on the fly.
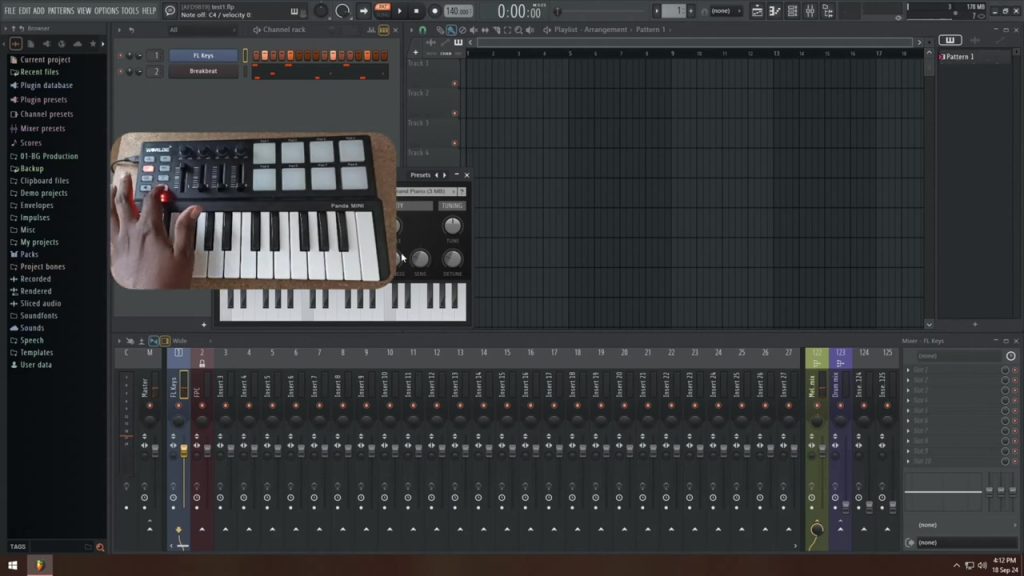
9. Mapping in FL Studio (14:40)
FL’s MIDI mapping is straightforward:
- Go to Options → MIDI Settings.
- Under Input, select “Worlde Panda Mini” and enable Controller.
- For each knob or pad, right-click a parameter (e.g., volume fader), choose Link to controller, and move the control on your Panda Mini.
Watch how each pad lights up as FL assigns the CC numbers—this gives instant visual feedback.
10. Remapping Scenes on the Controller (26:02)
Hold Scene + pad to jump between your four custom layouts without touching your computer. This works in both your configuration utility and live performance.
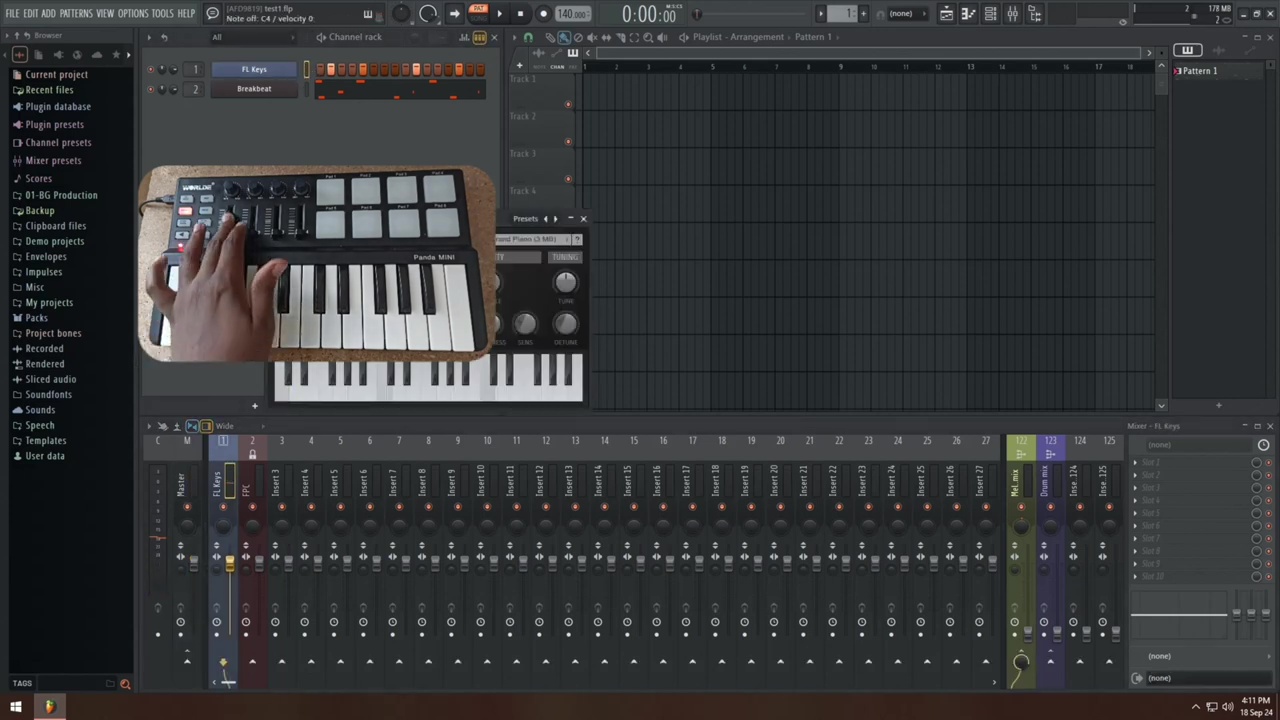
11. Final Testing in FL Studio (30:50)
Load a drum plugin, trigger pads, twist knobs for filter sweeps, tweak mixer levels—everything should respond instantly. If you hit any dead zones, revisit the driver installation or check that FL has “Auto-detect MIDI” enabled.
Conclusion & Next Steps (35:30)
Congrats—you now have a fully functional Panda Mini, mapped exactly how you like. If you run into any hurdles, drop a comment under the video or revisit the timestamps above. And if you found this tutorial helpful, please like, subscribe, and hit the bell icon for more FL Studio tips.
Additional Resources
- YouTube Channel & Subscribe: https://www.youtube.com/@Kahihia?sub_confirmation=1
- Worlde Support & Downloads: as above
- Comment & Feedback: Let me know what tutorials you’d love next—mixing, mastering, beat-making tricks, and more!
Happy producing!
Comments
One response to “WORLDE Panda Mini MIDI Full Guide”
The latency problem with FL studio.
When the timing of pressing any key on the panda mini is a little bit out if sync, and you cant really record anything..
Then you try to snap to scale but it never sounds how you want it
Try these when recording:
1. Disabling CPU hungry VSTs
2. In the Audio Settings:
. Select ASIO device with lower latency
. Reduce sample rate (44100Hz)
. Reduce buffer size (128smp)
3. In the MIDI settings:
. set velocity to none, for (Note and Release)