

Introduction
Playing PlayStation 2 (PS2) games on your computer has become easier than ever thanks to emulation software like PCSX2.
PCSX2 is a powerful emulator that allows you to enjoy your favorite PS2 titles with improved graphics and performance.
In this guide, we will walk you through the steps of setting up and using PCSX2 to play PS2 games on your computer.
Table of Contents:
- System Requirements
- Downloading PCSX2
- Installing PCSX2
- Obtaining PS2 BIOS
- Configuring PCSX2
a. First-Time Wizard
b. Plugin Configuration
c. BIOS Configuration
d. Controller Setup - Loading PS2 Games
- Adjusting Graphics and Emulation Settings
- Tips for Better Performance
- Troubleshooting Common Issues
- Final Thoughts
1. System Requirements:
Before you start, make sure your computer meets the following minimum requirements:
- Windows, Linux, or macOS operating system
- Dual-core CPU with at least 2.0 GHz clock speed
- 2 GB RAM (4 GB recommended)
- DirectX 11 or OpenGL 3 graphics
- A dedicated graphics card is highly recommended
- USB or Bluetooth controller for a better gaming experience
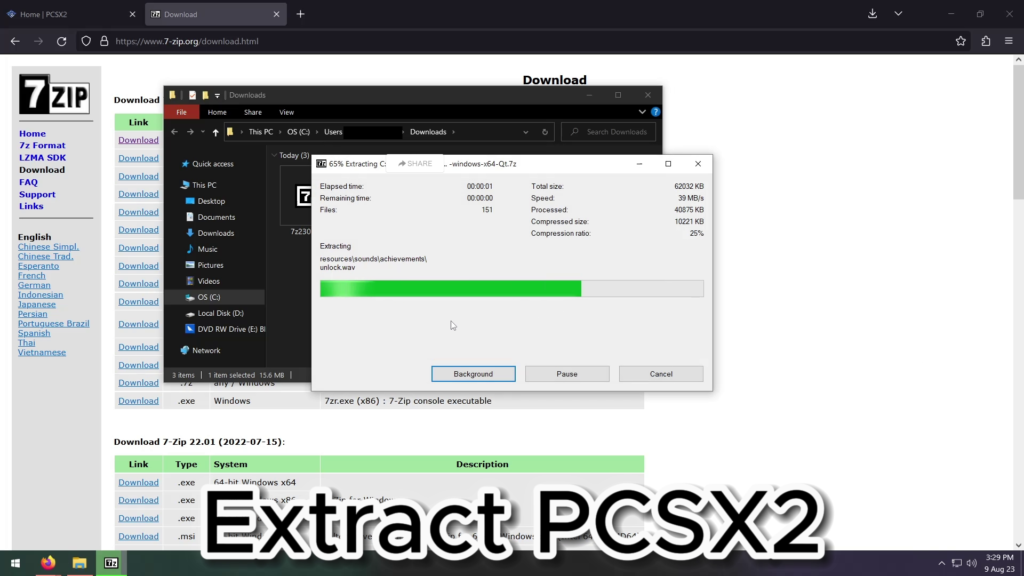
2. Downloading PCSX2:
Visit the official PCSX2 website (https://pcsx2.net/) to download the latest version of the emulator. Choose the appropriate version for your operating system.

3. Installing PCSX2:
Run the installer file you downloaded and follow the on-screen instructions to install PCSX2 on your computer. Choose the installation directory and create shortcuts as needed.
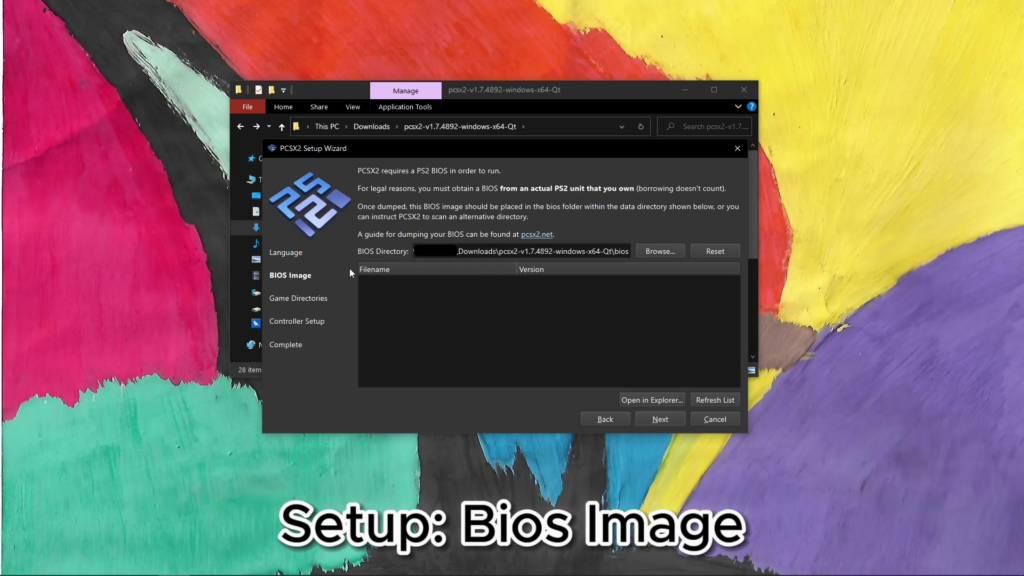
4. Obtaining PS2 BIOS:
To legally use PCSX2, you need a copy of the PS2 BIOS. It’s illegal to distribute BIOS files, so obtain the BIOS from your own PS2 console. You’ll need to extract the BIOS from your console using specialized tools.
5. Configuring PCSX2:
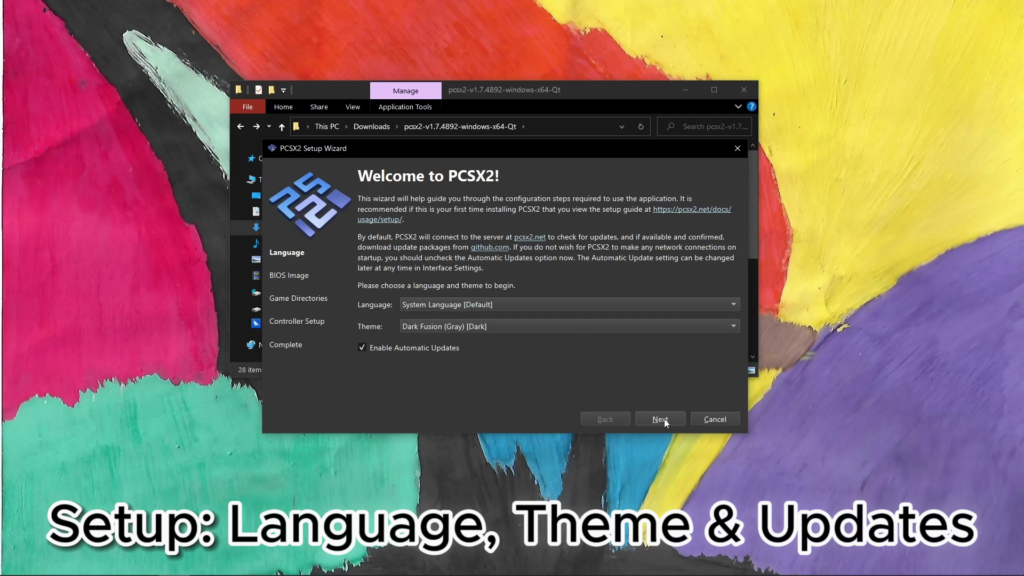
a. First-Time Wizard:
When you launch PCSX2 for the first time, the First-Time Wizard will guide you through initial setup. Choose your language, set your desired region, and select the BIOS file you obtained.
b. Plugin Configuration:
Configure the graphics, sound, and controller plugins. Select “GSdx” for graphics, “SPU2-X” for sound, and configure your controller plugin based on your setup.
c. BIOS Configuration:
Access the BIOS configuration to fine-tune settings. Use default settings for now, but you can explore these settings later to optimize performance.
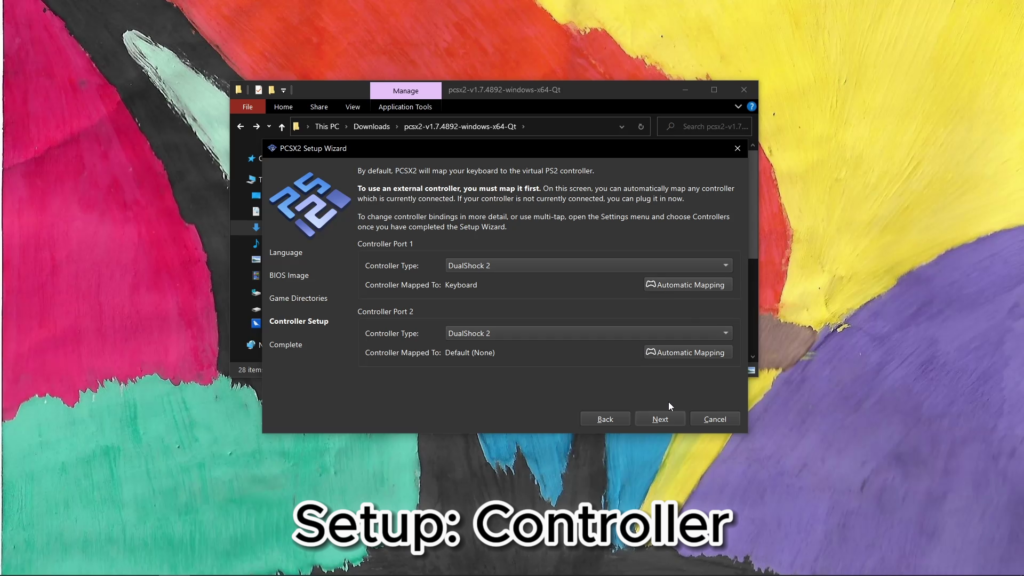
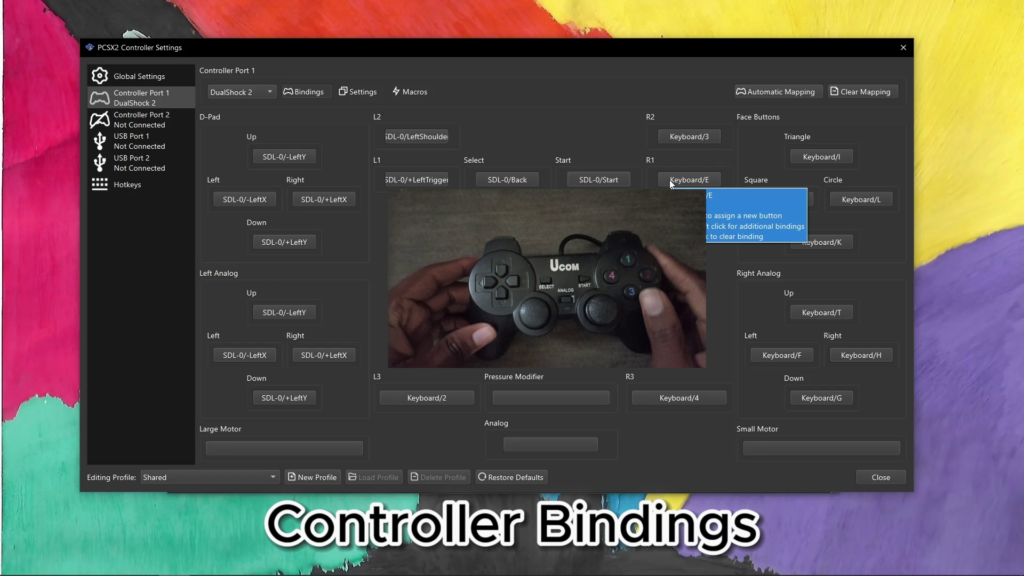
d. Controller Setup:
Connect your controller to your computer and configure it using the LilyPad plugin. Map the buttons according to your preference.
6. Loading PS2 Games:
Insert your PS2 game disc into your computer’s disc drive or use an ISO file of the game. To create an ISO file, you can use tools like ImgBurn.
In PCSX2, go to “CDVD” and choose either “Plugin” or “Iso” to load your game.
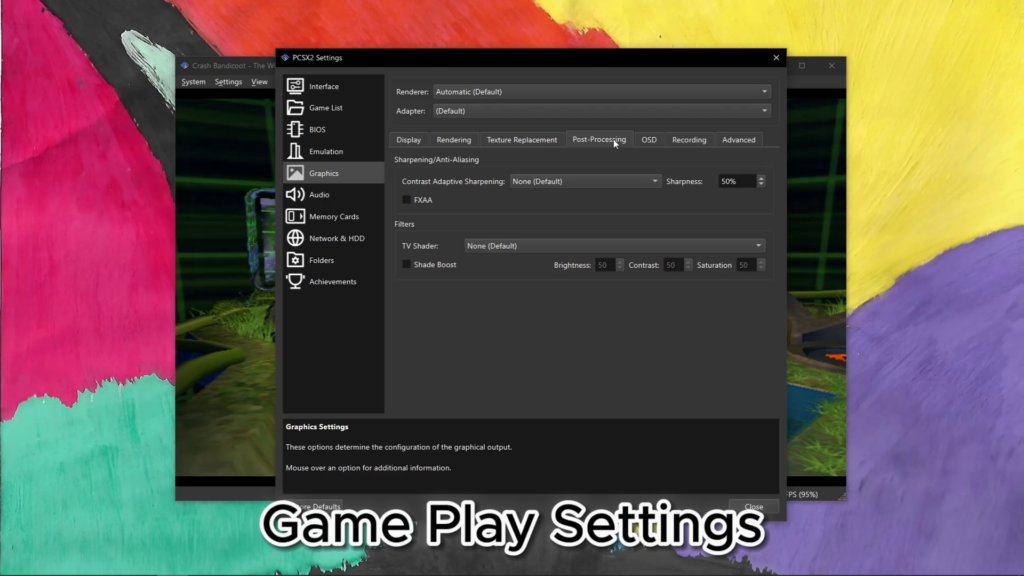
7. Adjusting Graphics and Emulation Settings:
Experiment with graphics and emulation settings to achieve the best performance and visual quality.
Access the settings through the “Config” menu. Adjust resolution, texture filtering, and other options based on your computer’s capabilities.
8. Tips for Better Performance:
- Close background applications to free up system resources.
- Update your graphics card drivers for better compatibility.
- Experiment with different settings to find the right balance between performance and visuals.
- Overclocking your CPU or GPU might improve performance, but be cautious and do it responsibly.
9. Troubleshooting Common Issues:
If you encounter problems, refer to the PCSX2 documentation or online forums.
Common issues include graphics glitches, audio stuttering, and controller configuration problems.
10. Final Thoughts:
Playing PS2 games on your computer through PCSX2 offers a nostalgic gaming experience with enhanced graphics and performance.
Remember to respect copyright laws and only use PCSX2 with games you legally own. Have fun reliving classic gaming moments on your modern PC!