

🎥 Watch the video: Simple Fix for slow burning Cooker!?
If you’ve ever had to wait ages for a pot of water to boil or noticed that your food is taking forever to cook, you might be dealing with a slow burning cooker. This is a surprisingly common issue in many homes — and the good news is, you might not need to replace your cooker or call a technician just yet.
In this post, I show you a simple DIY fix that worked well for me — using just a basic household item to get your cooker flame back to normal.
🎯 What’s Causing the Slow Burner?
Most of the time, the reason your cooker is burning slowly is because of gunk or residue buildup in the gas valve. Over time, cooking grease, dust, and food particles can clog the narrow passage where gas is supposed to flow freely. When this happens, your flame becomes weak, uneven, or barely lights at all.

This kind of blockage doesn’t usually mean your cooker is broken — it just needs a little cleaning in the right place.
🛠️ Step-by-Step: How I Fixed It
In my case, I used the thinnest knitting pin I could find to clear out the blockage. Here’s a breakdown of the steps I followed:
1. Turn Off the Gas Supply
Safety first. Make sure the gas is completely off before you start.
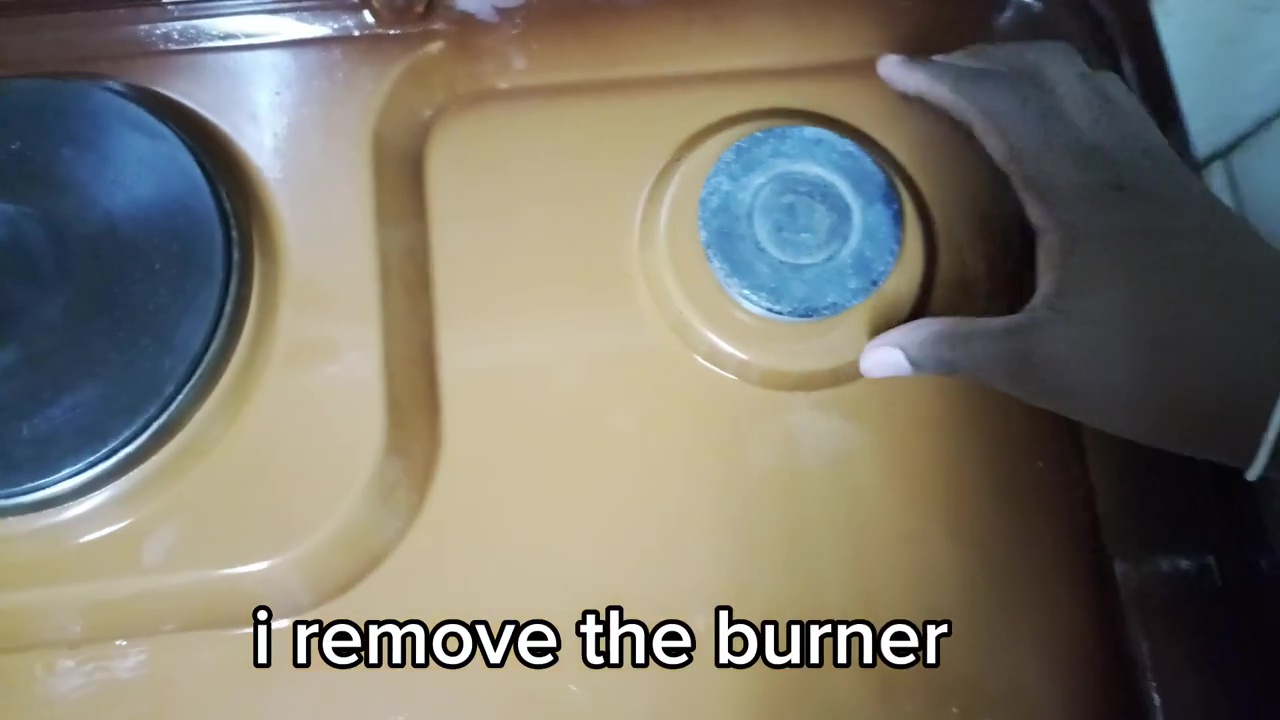
2. Access the Burner Valve
Remove the top part of the burner to expose the small gas outlet.
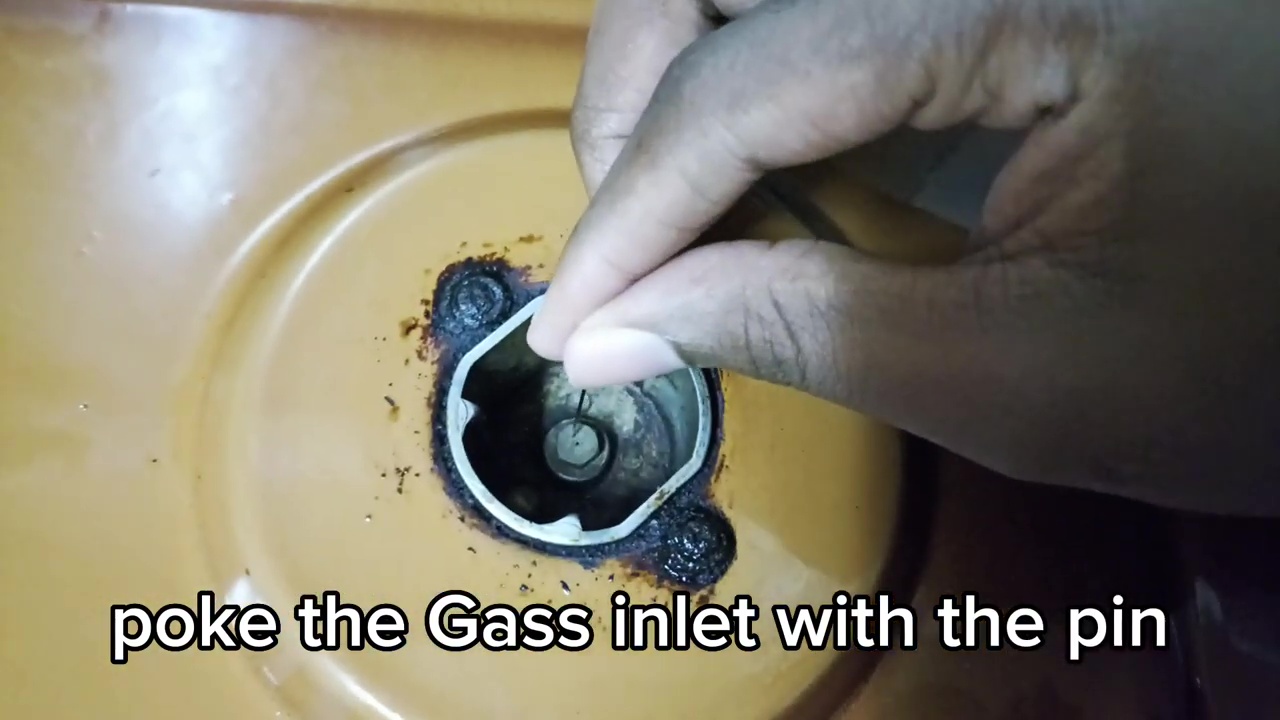
3. Poke Through the Valve
Use a thin needle or knitting pin to carefully clean out the tiny opening. Don’t force it — gently move the pin around to clear the blockage.
4. Blow or Wipe Away Loose Debris
After clearing the blockage, blow gently into the valve or use a dry cloth to remove any loose particles.
5. Reassemble and Test
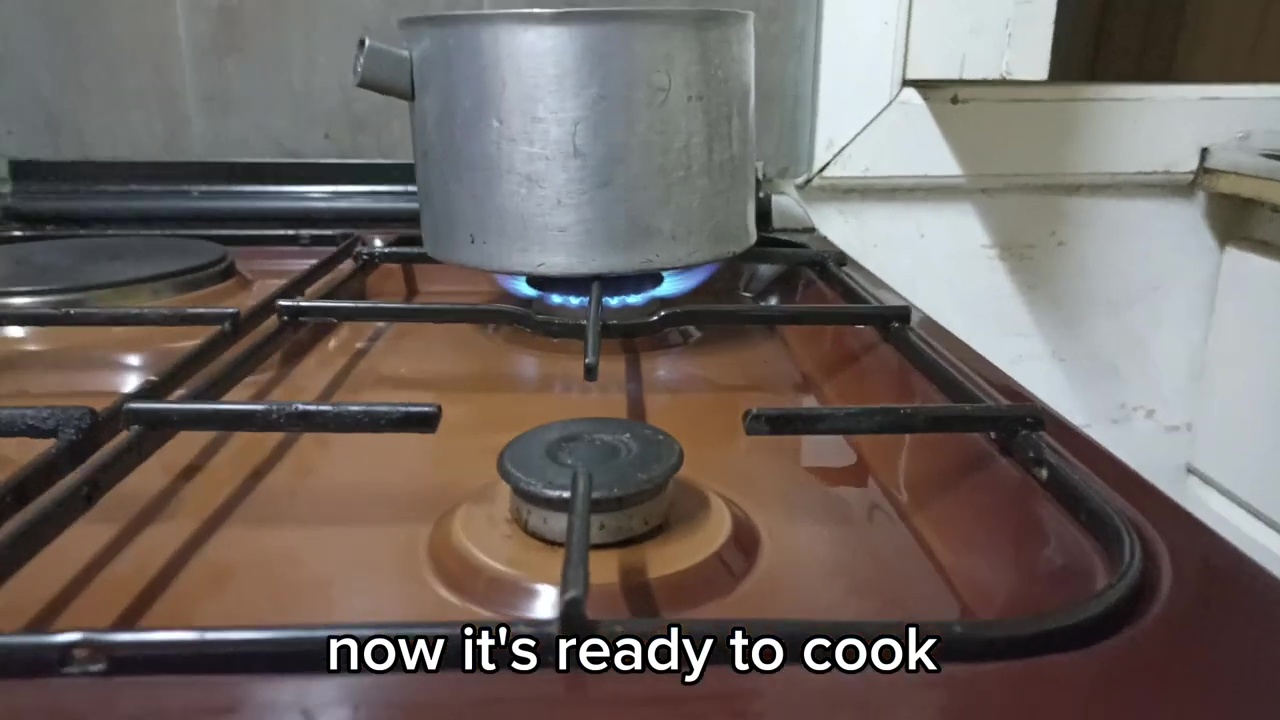
Put everything back together, turn on the gas, and test the flame.
The result? A full, clean-burning flame that cooks like it should!
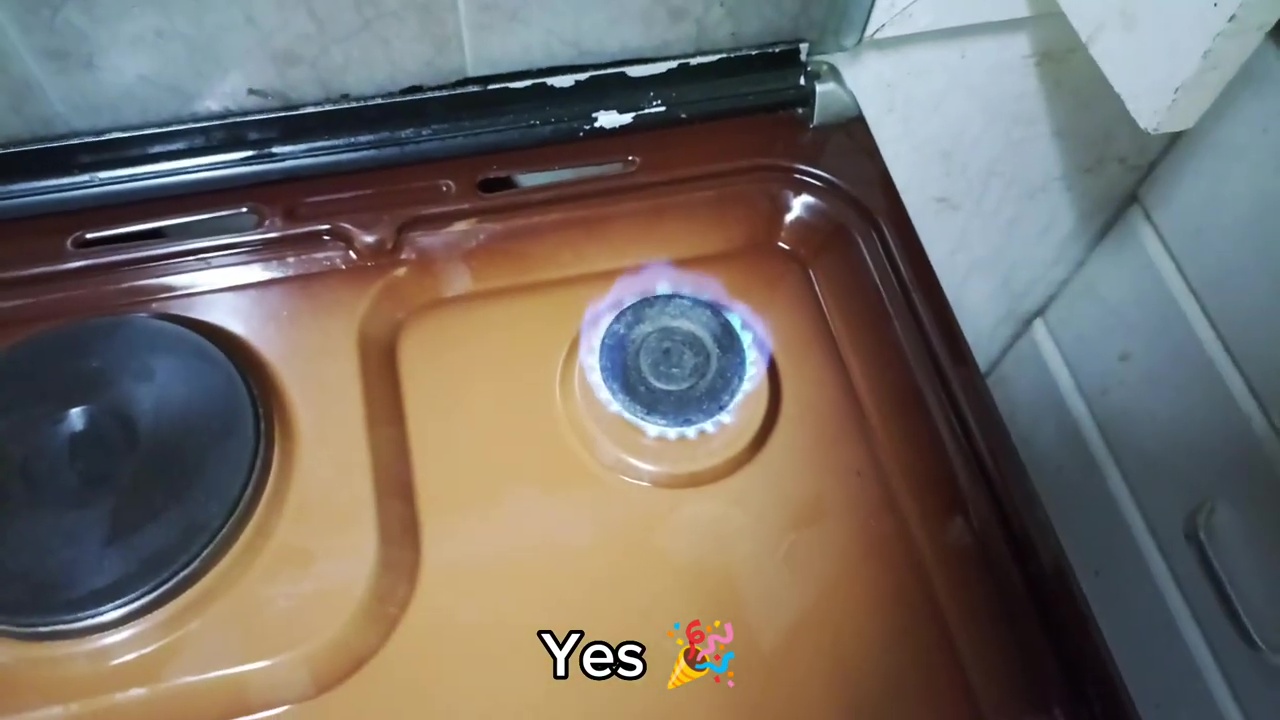
✅ Did It Work?
Yes — for me, it worked perfectly. I’ve used this method before with good results. It may not be a “professional” fix, but it’s a quick, cost-free solution you can try at home. No fancy tools. No calling a repair guy.
⚠️ A Few Cautions:
- Be gentle. You’re cleaning, not drilling — so avoid using too much pressure.
- Always make sure the gas is OFF before working on the cooker.
- If the problem persists even after cleaning, or if you smell gas, stop and consult a qualified technician.
- This method is for minor clogs only. If the issue persists, you may have a deeper gas pressure or regulator problem
🧼 Bonus Tip: Preventing Future Blockages
To reduce the chance of this happening again:
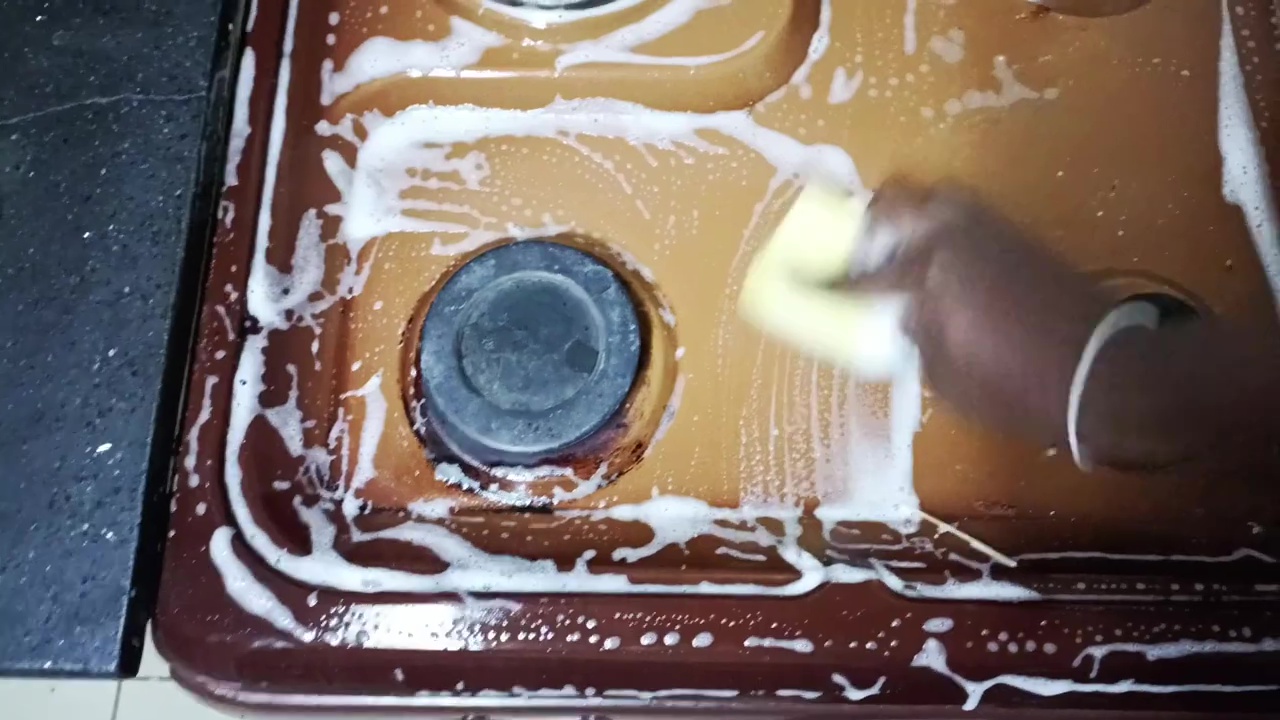
- Clean your burners regularly
- Avoid letting food or liquids spill onto the cooker while cooking
- Keep the gas outlet area covered when the cooker is not in use (especially in dusty environments)
💬 Share Your Experience
Did this method work for you? Have a different tip that solved the problem? Drop your experience or questions in the comments — I respond to all helpful questions!
#CookerFix #GasCookerRepair #HomeDIY #KitchenHacks #FixItYourself #CookingTips
Leave a Reply