
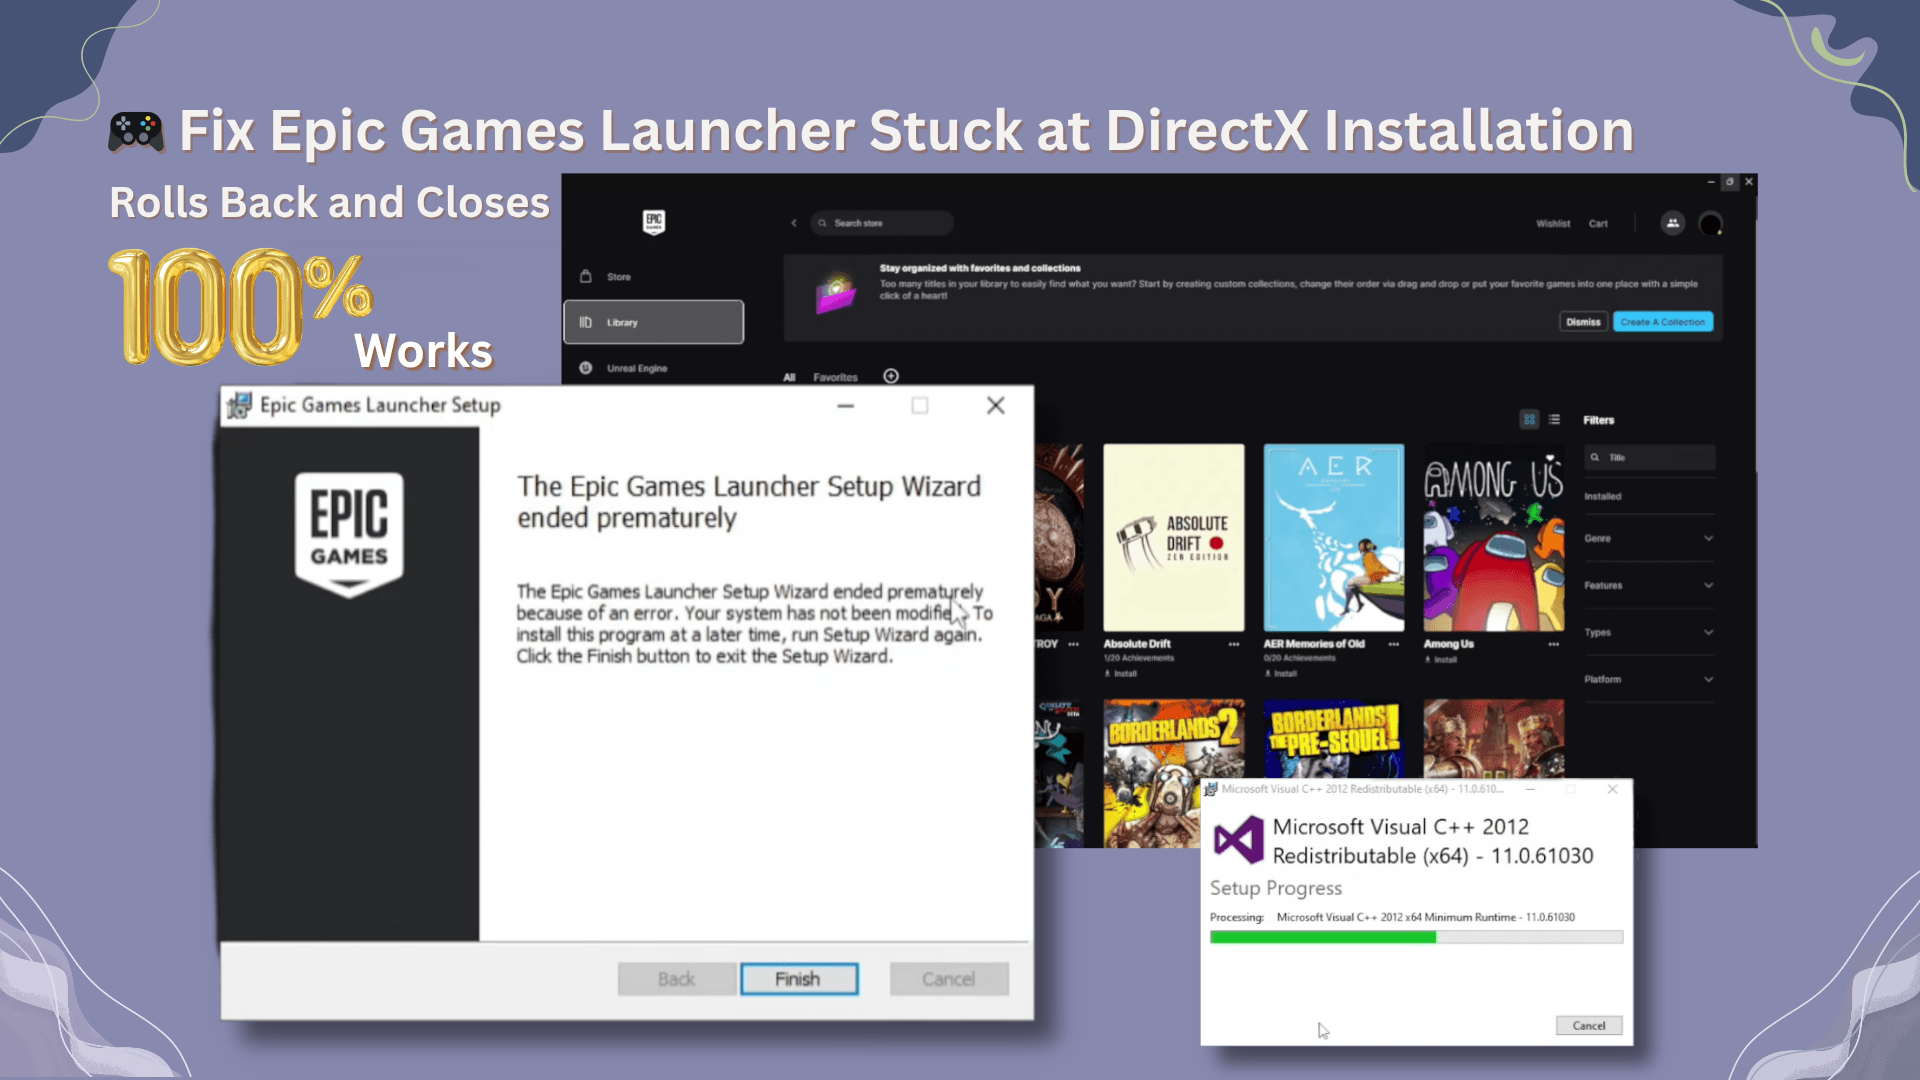
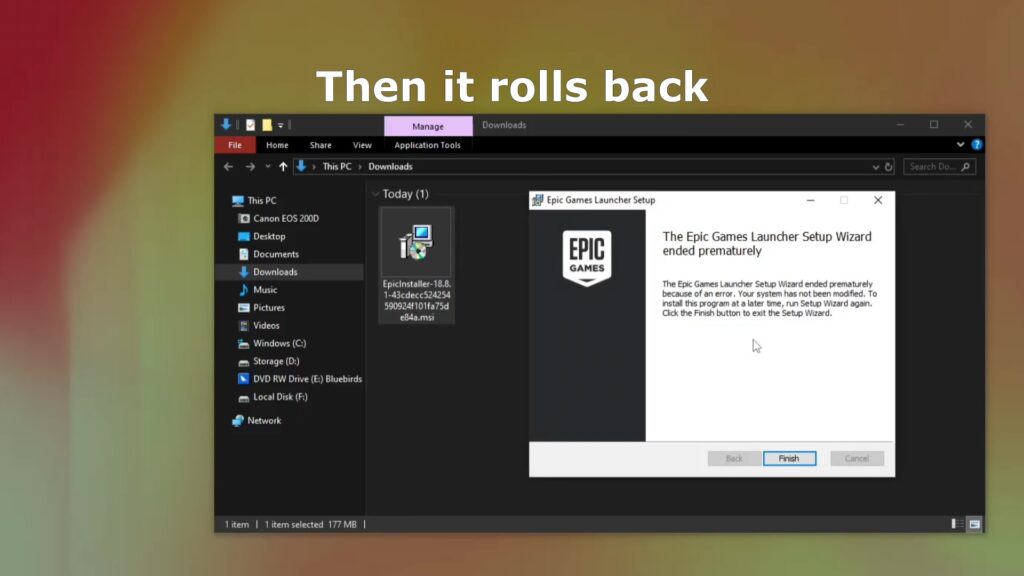
If you’ve been trying to install the Epic Games Launcher and the setup freezes at the DirectX installation stage, only to roll back and close without warning, you’re not alone.
This is a common installation issue for some Windows users — but the good news is that there are several proven fixes. In this guide, I’ll walk you through step-by-step solutions that will get Epic Games Launcher installed and running.
🔍 The Problem
Here’s what typically happens:
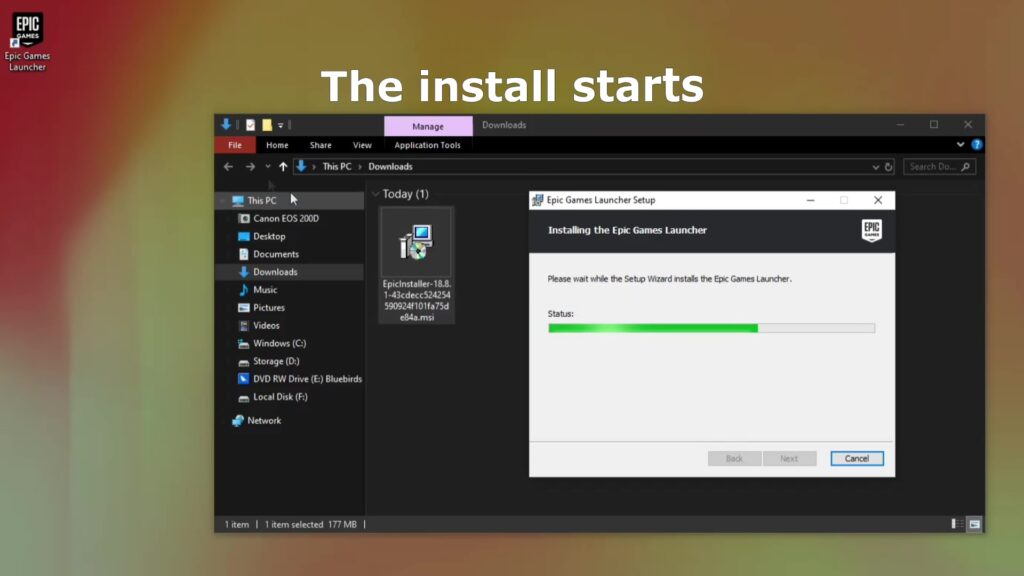
- You download and run
EpicInstaller.exe. - The installation begins normally.
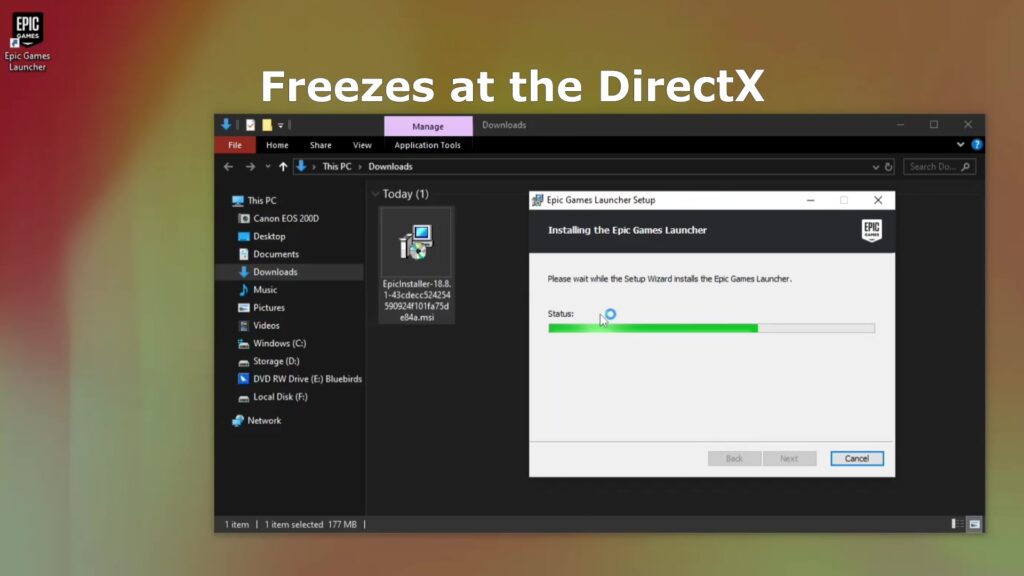
- When it reaches the “Installing DirectX” step, it hangs.
- The installer rolls back changes and closes with no error message.
Frustrating? Yes. Fixable? Absolutely.
🛠 Fix 1: Install from a Different Windows User Account (Step-by-Step)
For many users (myself included), the root cause was related to the Windows user account name or permissions. Here’s exactly how to fix it:
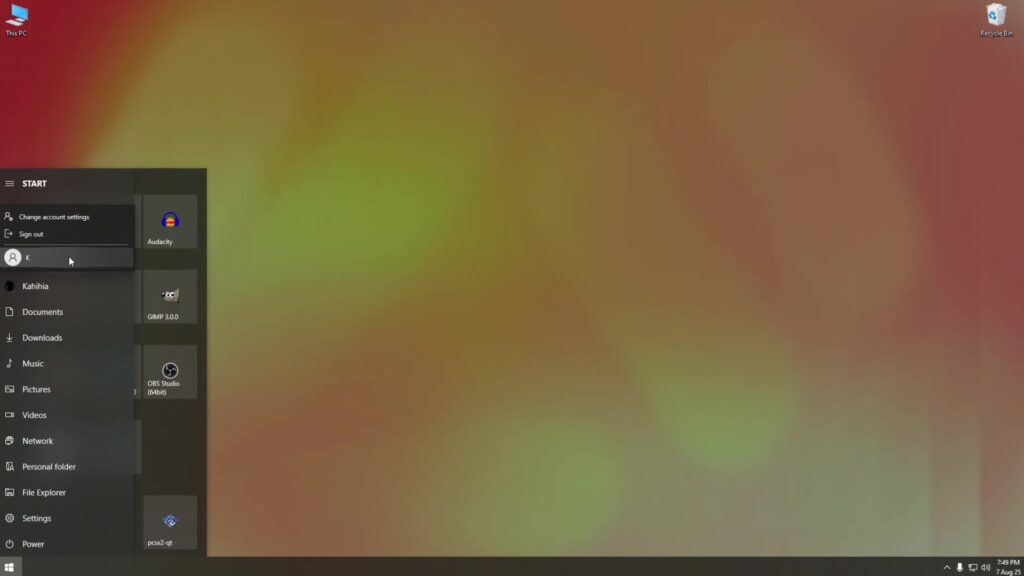
- Sign Out of Your Main Account
Click the Start menu, select your user profile icon, and choose Sign out. - Sign In to Another Account
On the login screen, choose a different Windows account.
If you don’t have one, go to Settings → Accounts → Family & other users, and create a new account. - Run the Epic Games Installer
From this other account, runEpicInstaller.exe.
This time, the installation should complete without rolling back. - Sign Out and Return to Your Main Account
Once installed, sign out of the secondary account and log back into your main account. - Run Epic Games Launcher
The application should now be installed and work normally from your main account.
✅ This method bypasses the account-specific permission or path issues that cause the rollback.
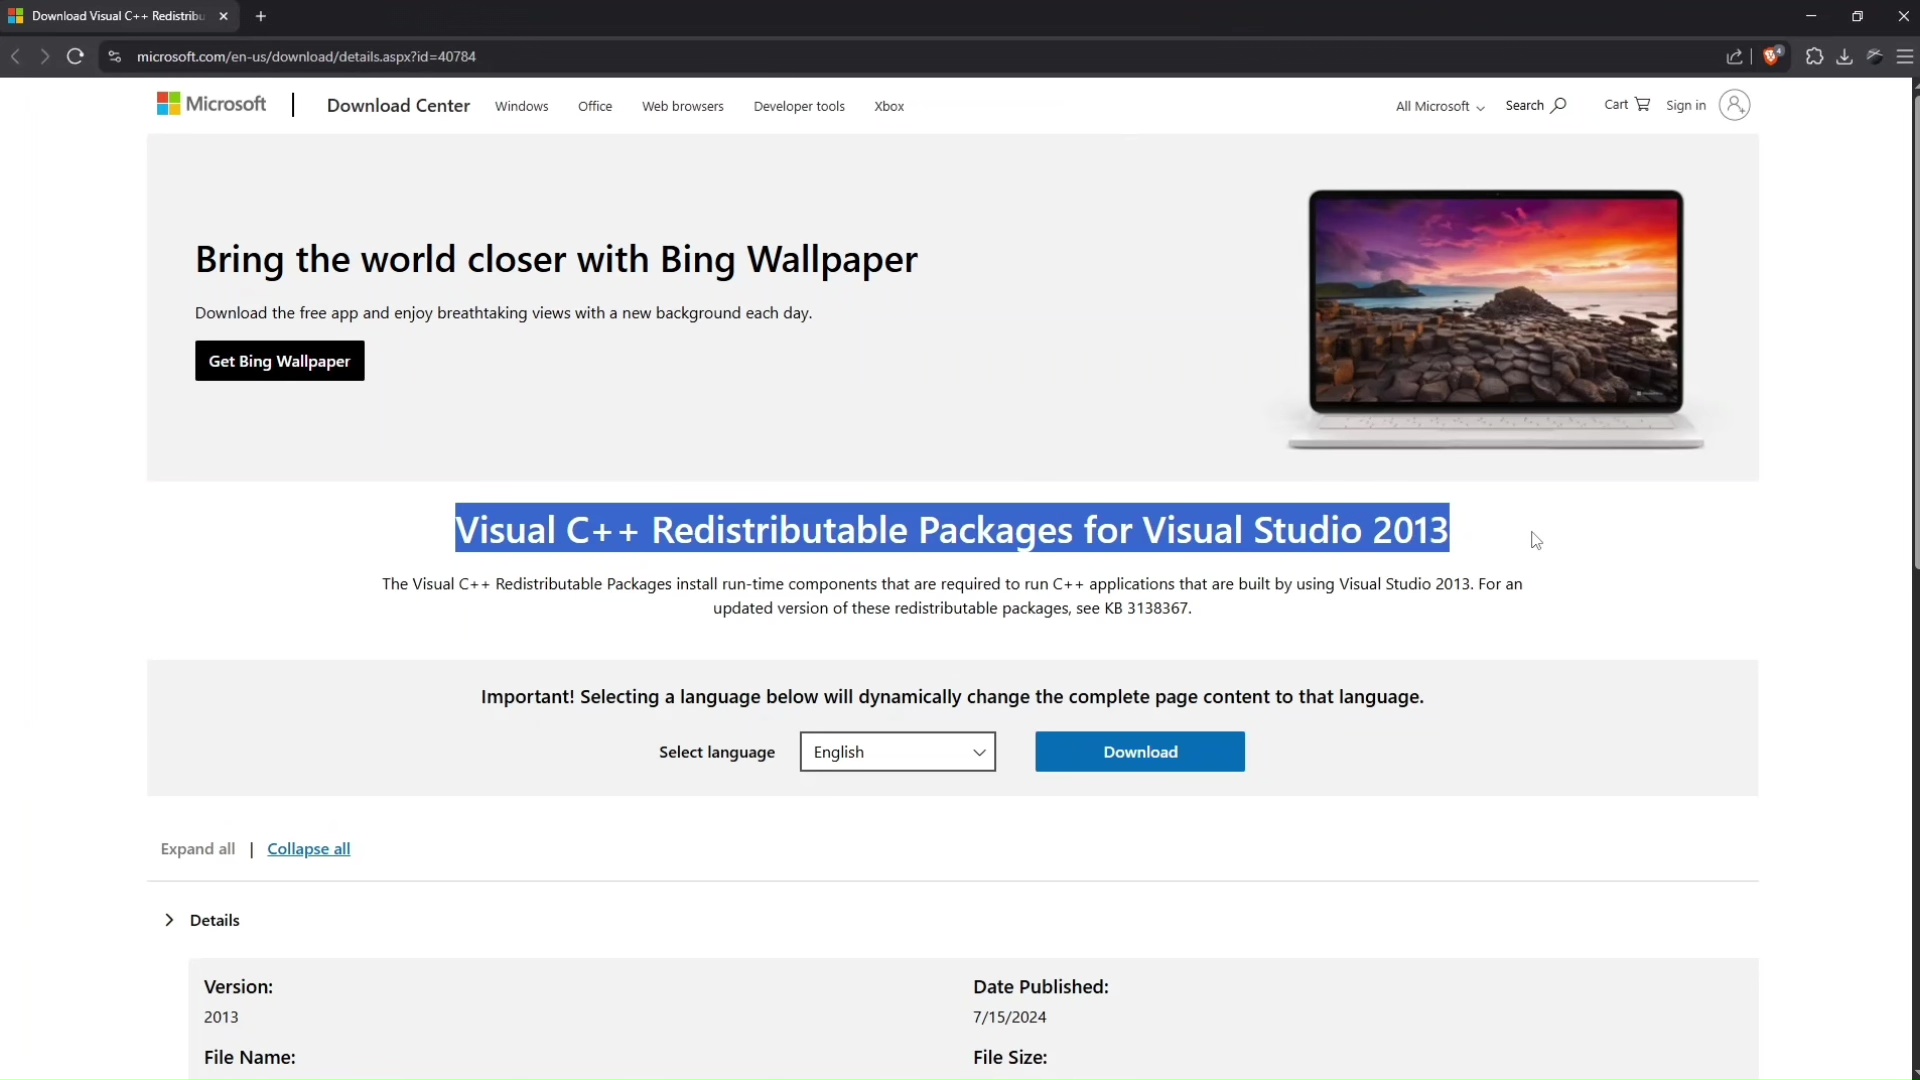
🛠 Fix 2: Repair Microsoft Visual C++ Redistributables
Corrupted or missing Microsoft Visual C++ files can also cause installation failures.
- Download Visual C++ Redistributable 2012 and 2013 from the official Microsoft site.
- Run each installer and choose Repair.
- Restart your PC.
- Run the Epic Games installer again.
🛠 Fix 3: Run Installer in Compatibility Mode
Sometimes running the installer in an older Windows compatibility mode helps.
- Right-click the
EpicInstaller.exefile. - Select Properties → Compatibility tab.
- Tick Run this program in compatibility mode for and select Windows 8 or Windows 7.
- Also tick Run this program as an administrator.
- Apply changes and run the installer again.
🛠 Bonus Fix: Install in Safe Mode with Networking
If none of the above works, try installing in Safe Mode:
- Press Windows + R, type
msconfig, and press Enter. - Under the Boot tab, check Safe boot → Networking.
- Restart your PC — it will boot in Safe Mode.
- Run the Epic Games installer.
- Once done, uncheck Safe boot in
msconfigto return to normal mode.
🎯 Final Thoughts
One of these methods should get your Epic Games Launcher installed without the dreaded rollback. In my experience, the different Windows account method works for most people, but it’s worth trying the other solutions if needed.
Related Links
If you’ve found another way to solve this issue, share it in the comments below — it might help someone else get back to gaming faster.