
Watch the video: Fix Corrupted Drives Without Losing Data | Step-by-Step CMD Tutorial for Windows
Learn how to repair a corrupted or inaccessible drive on Windows without losing your data!
Plus, discover essential tips to maintain data health and prevent future loss.
Perfect for anyone facing drive issues!
Have you ever plugged in your USB drive only to be met with a message saying it needs to be formatted? Don’t panic—formatting can lead to data loss. Fortunately, there’s a way to repair a corrupted USB drive without formatting it, and in this guide, we’ll walk you through each step.
🛠️ Step-by-Step Instructions
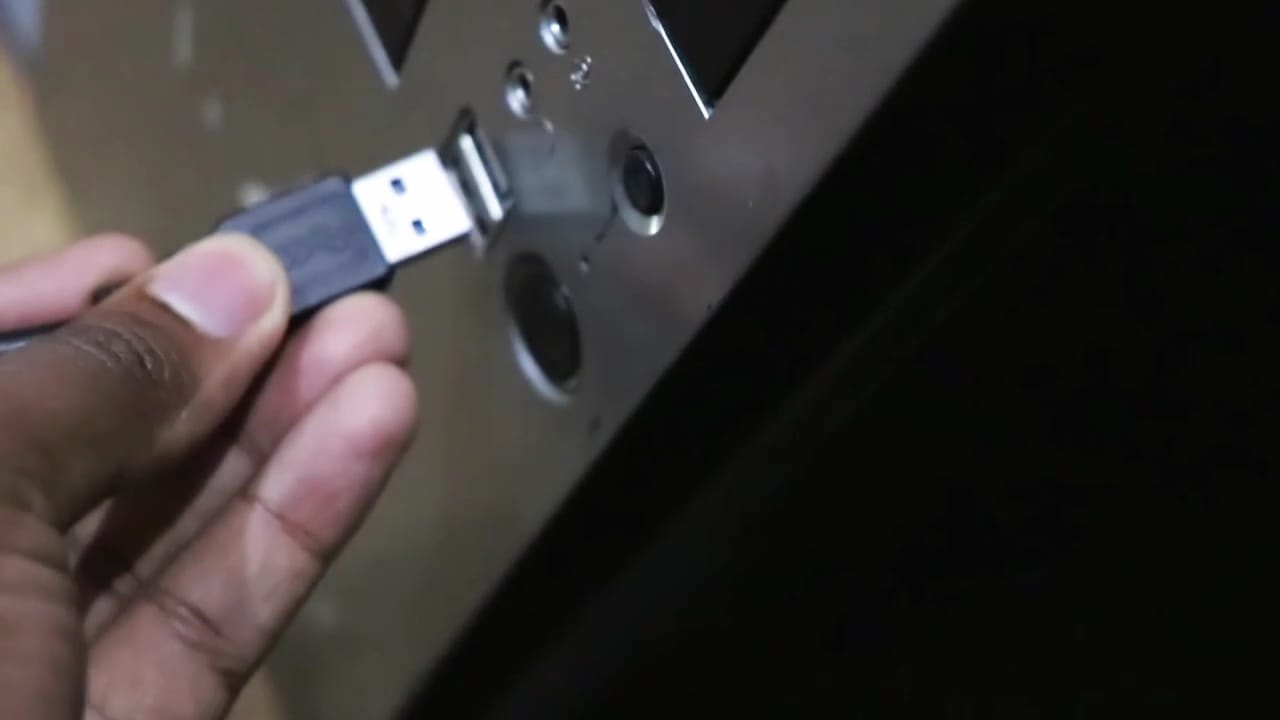
🔌 Step 1: Plug the Drive Into Another PC
Start by connecting the USB drive to a different computer. Sometimes the issue could be with the original PC’s ports or drivers.
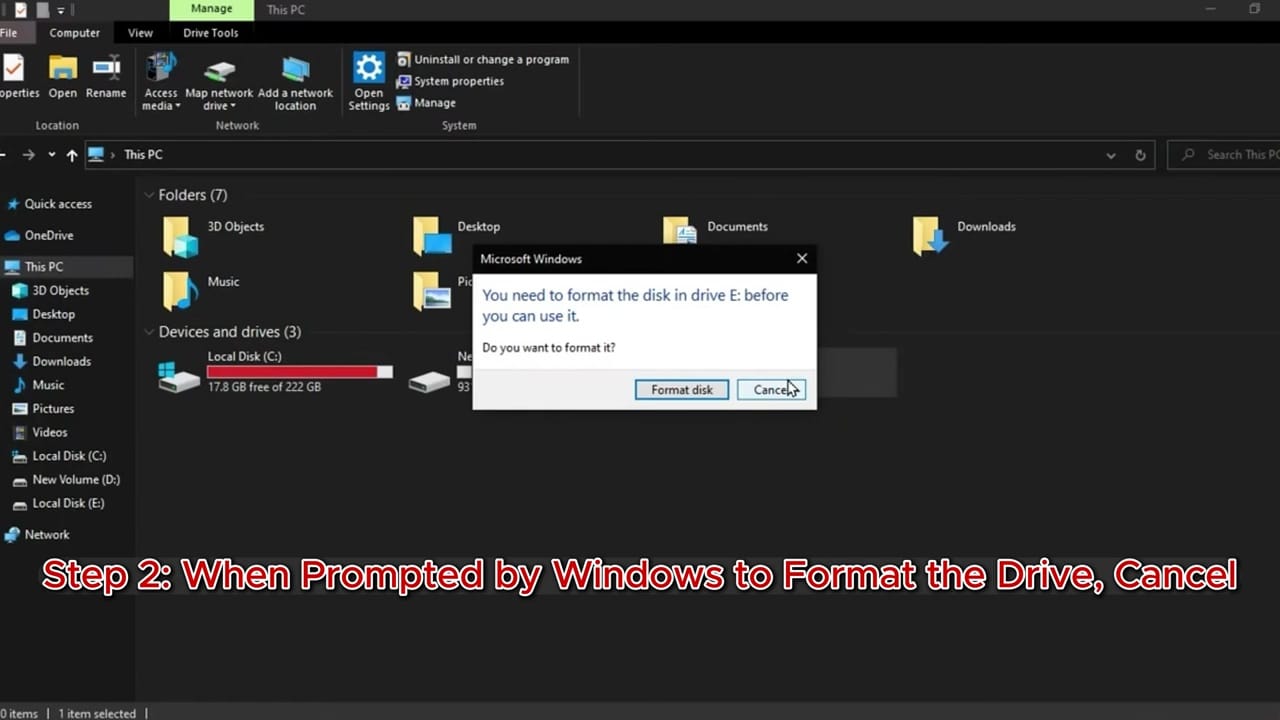
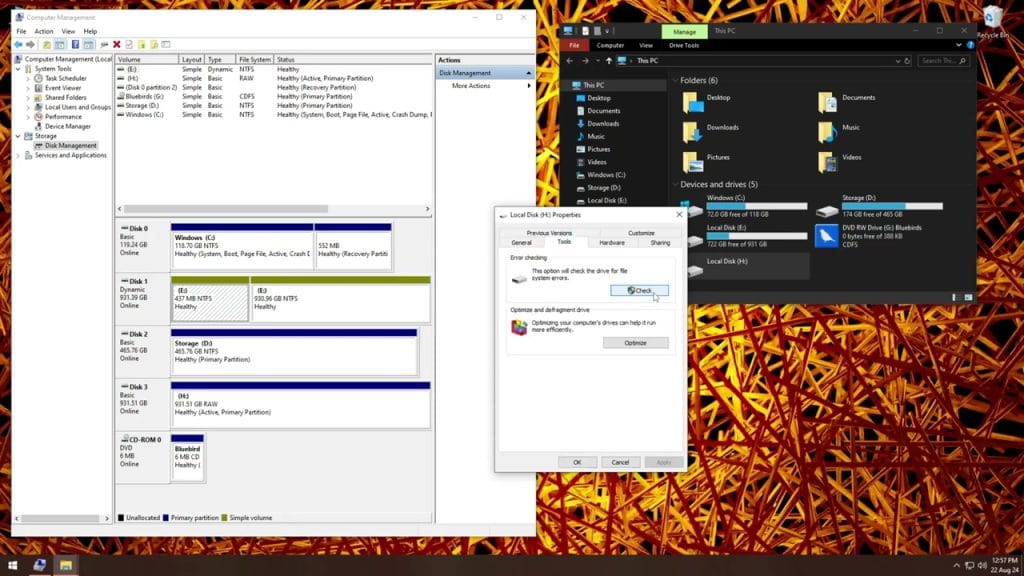
❌ Step 2: Cancel the Format Prompt
If Windows prompts you to format the drive, don’t do it. Formatting erases all data on the drive. Instead, click Cancel.
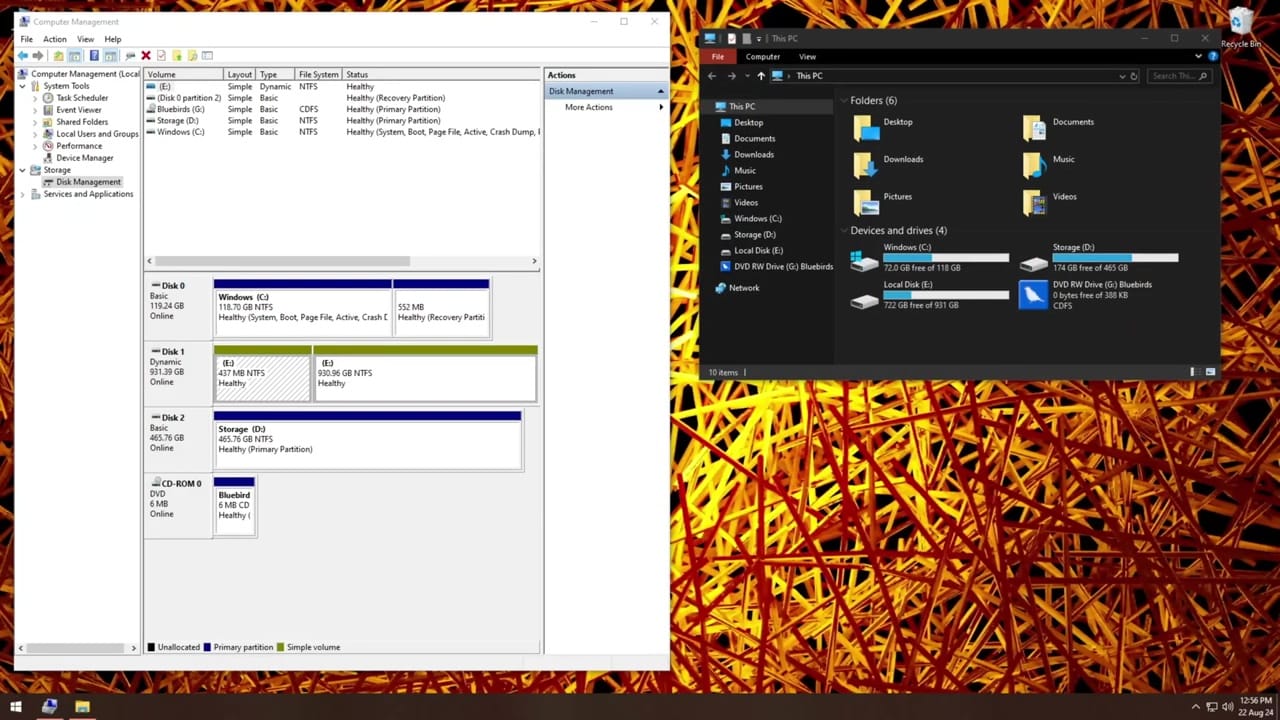
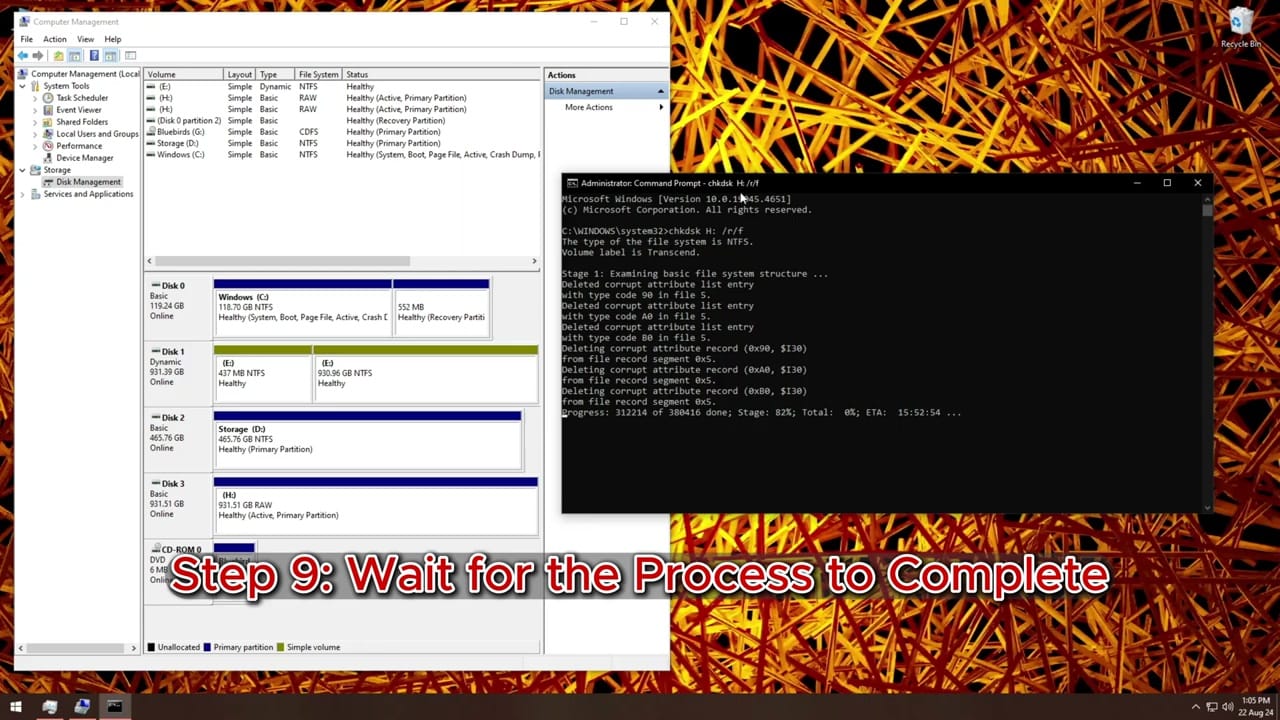
💾 Step 3: Open Disk Management
Right-click the Start menu and select Disk Management. This will help you see if the drive is detected by Windows and check its status (e.g., Healthy, RAW, Unallocated).
🗂️ Step 4: Check the Disk from ‘This PC’
Go to File Explorer > This PC to check if the drive has a letter assigned to it and whether any files are accessible. Take note of the drive letter, as you’ll need it later.
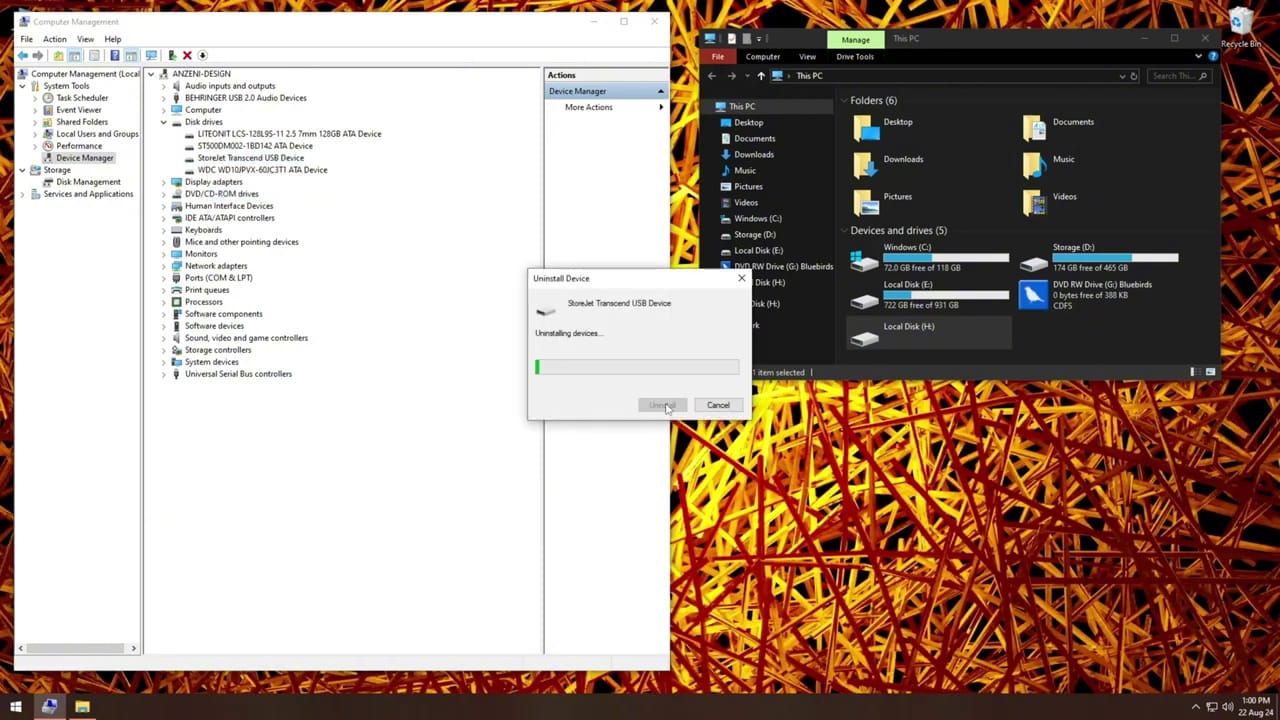
🔧 Step 5: Uninstall the Driver in Device Manager
Go to Device Manager, find the USB device under “Disk drives,” right-click it, and select Uninstall device. Then unplug and plug in the USB drive again to reinstall the driver automatically.
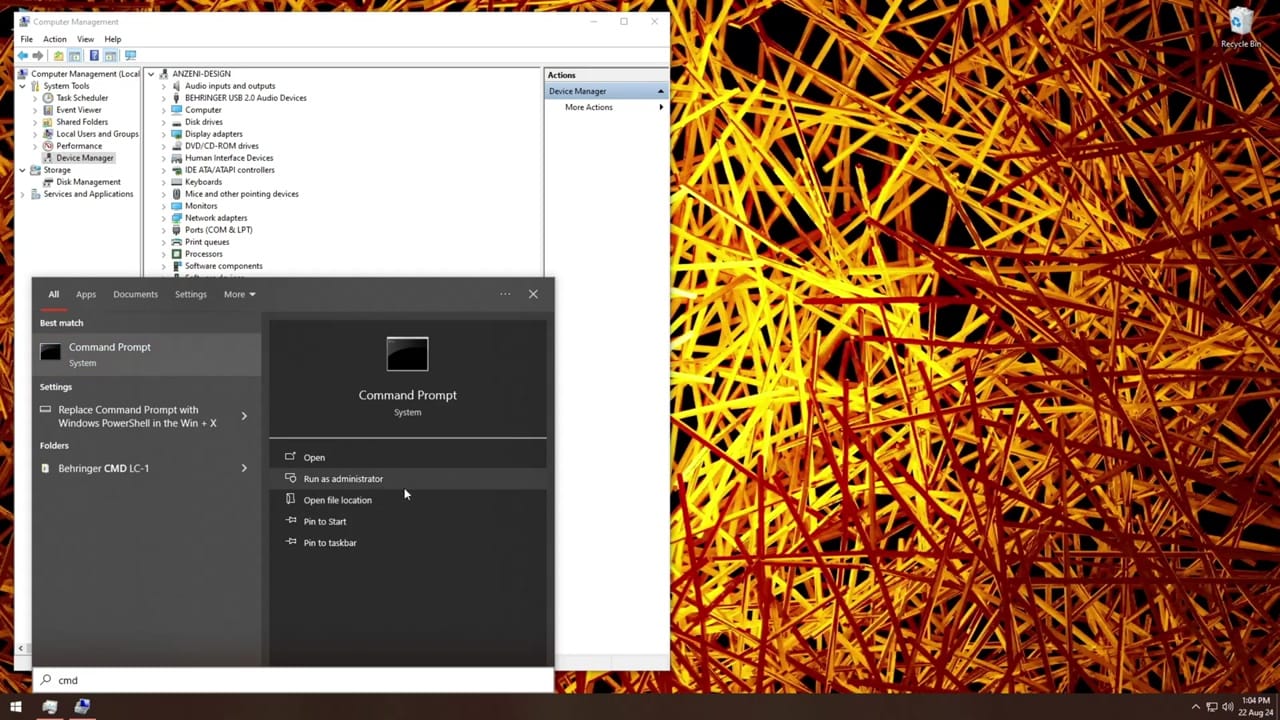
⚙️ Step 6: Open Command Prompt as Administrator
Click Start, type “cmd,” then right-click on Command Prompt and select Run as Administrator. This gives you full access to run repair commands.
🔤 Step 7: Identify the Drive Letter
In Command Prompt, identify the USB drive’s letter (e.g., E:, F:, G:). You can confirm this from File Explorer or Disk Management.
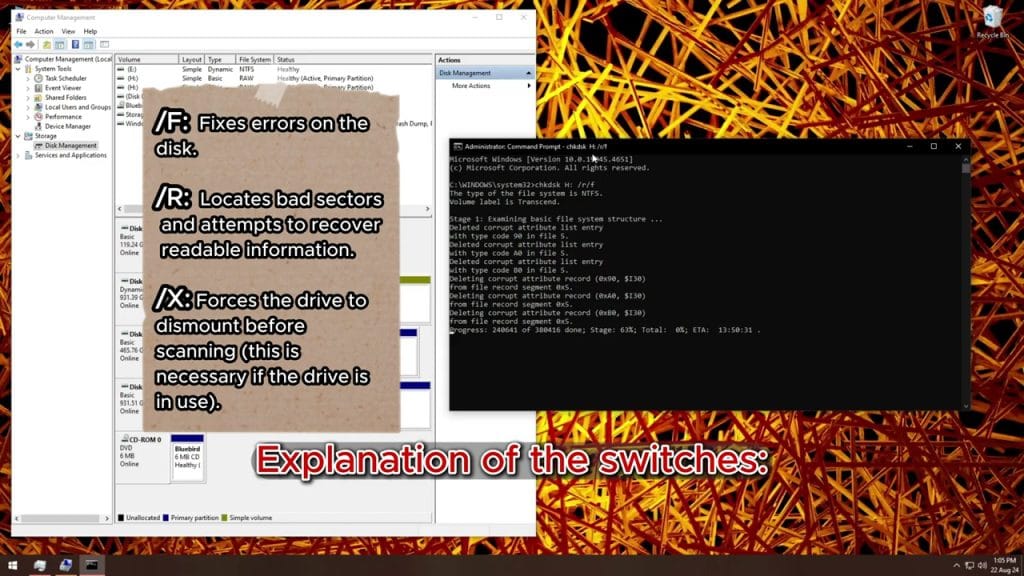
💻 Step 8: Use the CHKDSK Command
Type the following command (replacing E: with your drive letter):
bashCopyEditchkdsk E: /f /r /x
/ffixes errors on the disk/rlocates bad sectors and recovers readable information/xforces the volume to dismount first, if necessary
Press Enter and wait for Windows to scan and fix the drive.
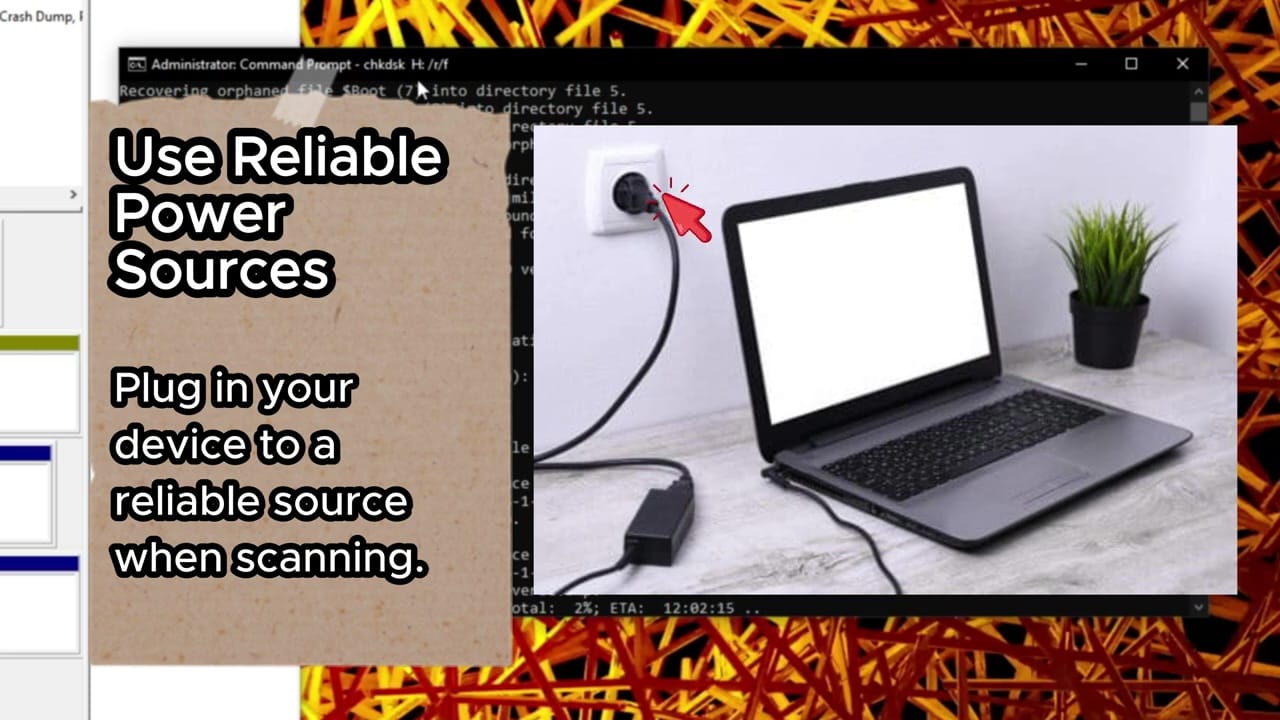
⏳ Step 9: Wait for the Process to Complete
The scanning and repair process can take a few minutes depending on the size of the drive and the extent of corruption. Be patient and don’t remove the drive during this time.
🛡️ Maintain and Prevent Data Loss
To keep your USB drives healthy and avoid data corruption:
- Always safely eject the drive before removing it.
- Avoid using the same drive on multiple devices too frequently.
- Back up important files regularly.
- Use antivirus software to prevent malware from affecting your drives.
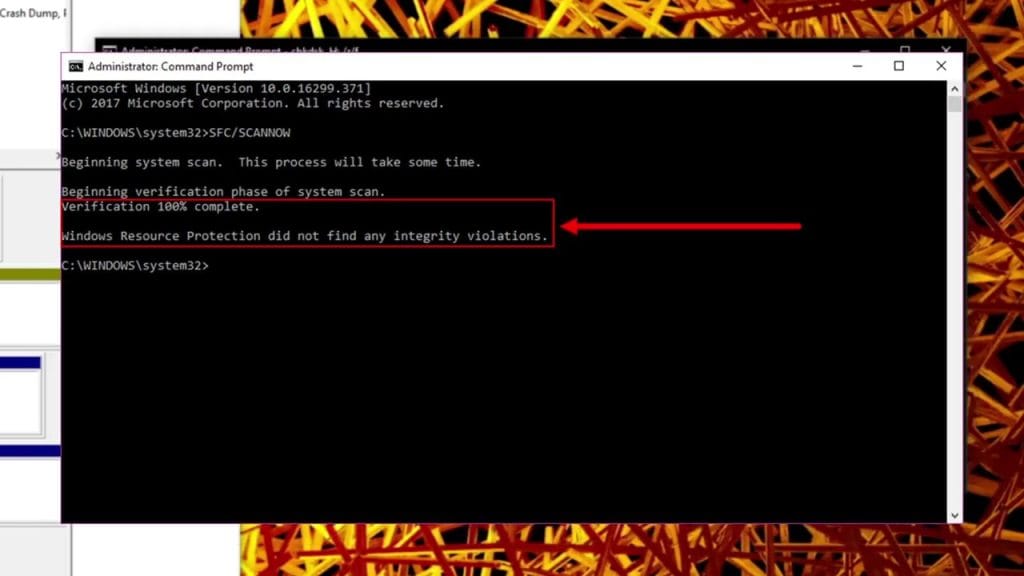
🧾 Step 10: Review the Results
Once the process is done, CMD will show a report of what was found and fixed. Check your USB drive in File Explorer. If successful, your files should now be accessible.
I hope this guide helped you repair your corrupted USB drive without formatting.
If you found this helpful, subscribe to my channel for more tech tips, tutorials, and troubleshooting guides!